|
|
 Posted 11/20/2012 6:22:42 PM Posted 11/20/2012 6:22:42 PM |
|
|

Junior Member
 
Last Login: 6/21/2015 6:09:39 PM
Posts: 94,
Visits: 534
|
|
Now that is amazing, great deatil for a 2 weeks work. im sure you could of easly passed it off as real with some wheels and paint.
cant wait to see you do all the tumbler details
If you make yourself more than just a man, if you devote yourself to an ideal... you become something else entirely. A legend, Mr. Wayne, a legend
|
|
|
|
| Posted 11/23/2012 9:14:58 PM |
|
|

Getting Better at Internets

Last Login: 11/13/2022 6:06:37 AM
Posts: 2,698,
Visits: 8,392
|
|
mr 32 (11/20/2012)
Now that is amazing, great deatil for a 2 weeks work. im sure you could of easly passed it off as real with some wheels and paint.
cant wait to see you do all the tumbler details
Thank you Mr 32! 
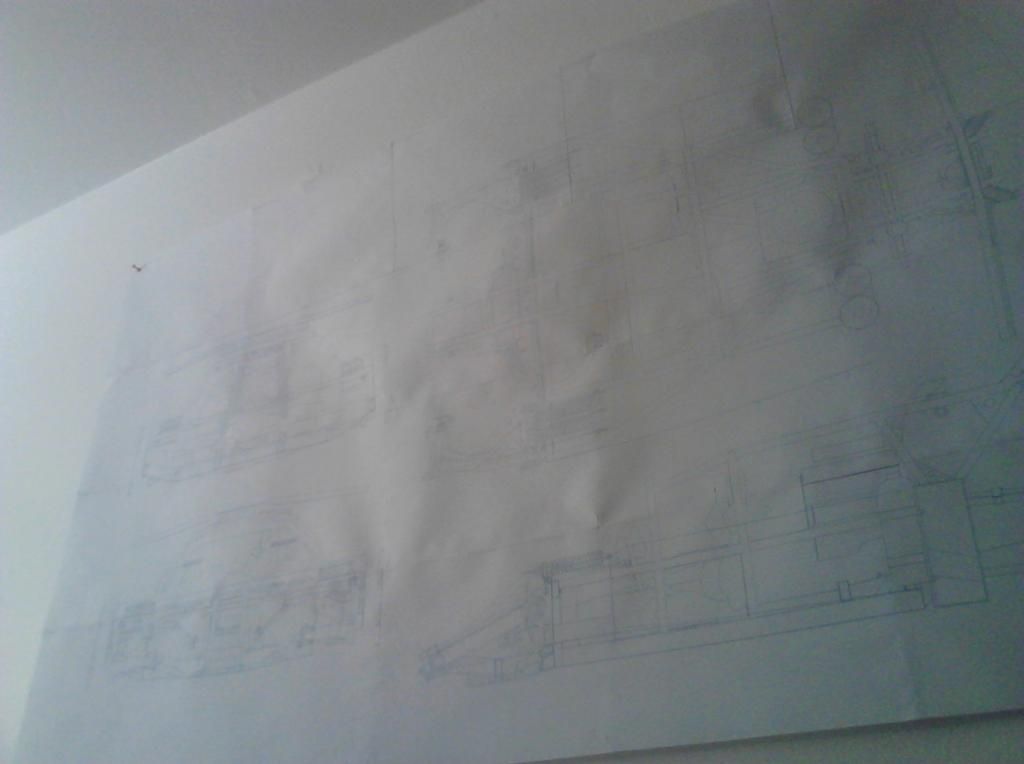
Now I know I just made a poster, but i figured a blueprint line drawing would do me better, so I replaced my newly created poster.....with a newly created poster haha.
You can barely see the lines, but in person it really pops.
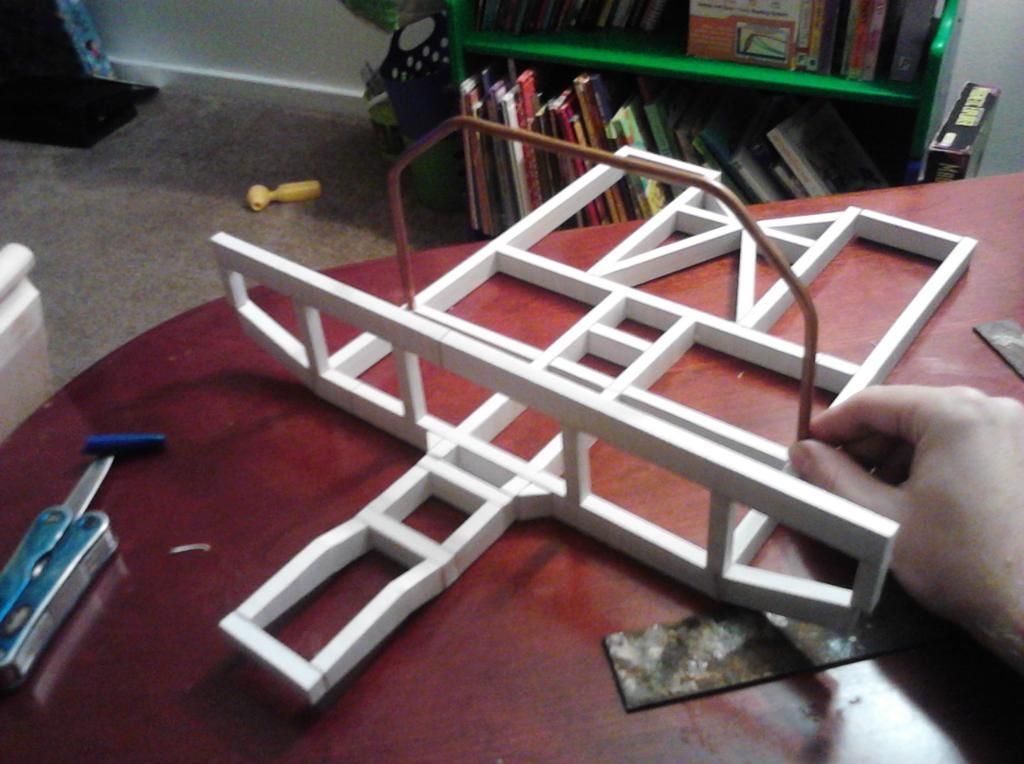
Now, the copper pipe that I bought a while back was finally utilized. I took my bisecting plate, or for the women there in the crowd who know their way to the kitchen, you ma know it simply as a cutting board (  ), clamped a pipe atop of the hand hold, slid the copper pipe in it to hold it place. Then, referring to the newly printed blueprints, I would determine how much copper tubing i needed, then cut it off using my dremel (dont tell my wife I used it indoors) ), clamped a pipe atop of the hand hold, slid the copper pipe in it to hold it place. Then, referring to the newly printed blueprints, I would determine how much copper tubing i needed, then cut it off using my dremel (dont tell my wife I used it indoors)
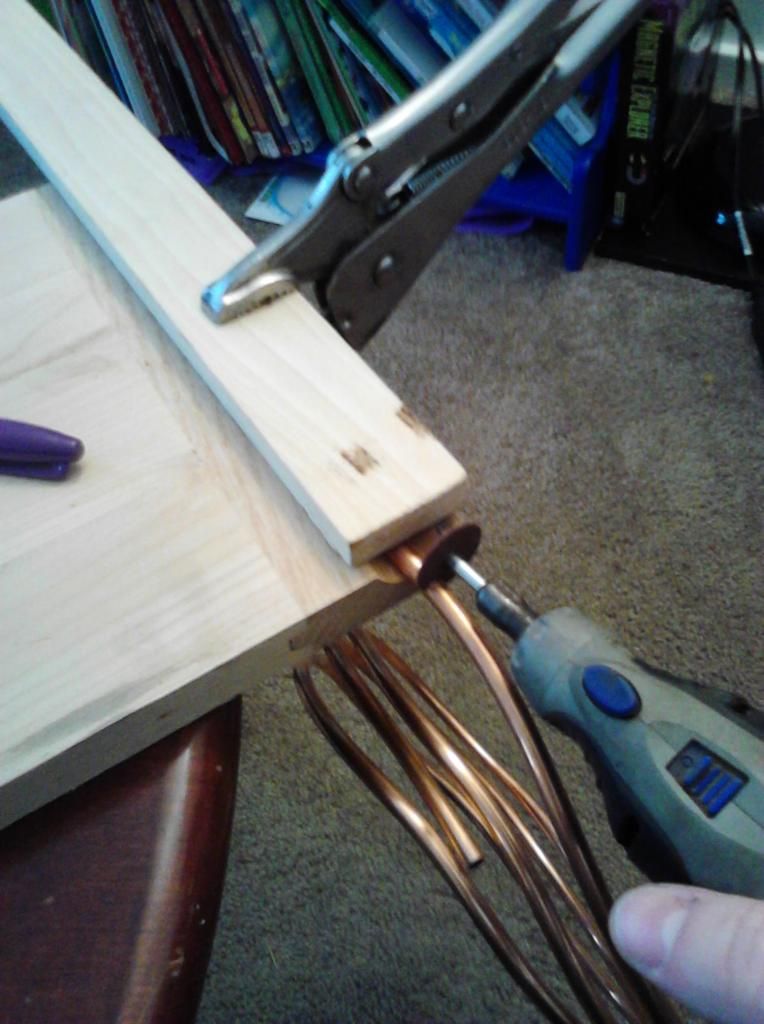
And no, the cutting board is not used in our kitchen, its just something I had laying around.
Then taking the bisecting plate (or for the women again, the cutting board  ) I laid out the curved pipe... ) I laid out the curved pipe...
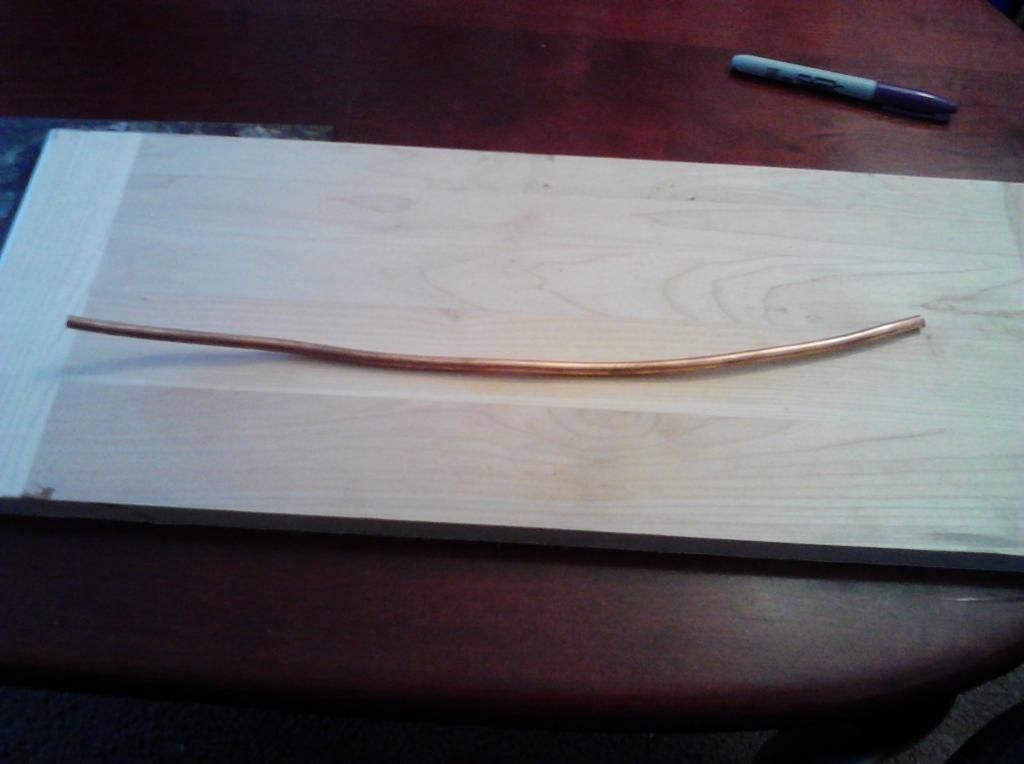
....then using a hammer, starting at one end, rolling the pipe and tapping with gentle pressure the entire length, I was able to straighten out lengths at a time.
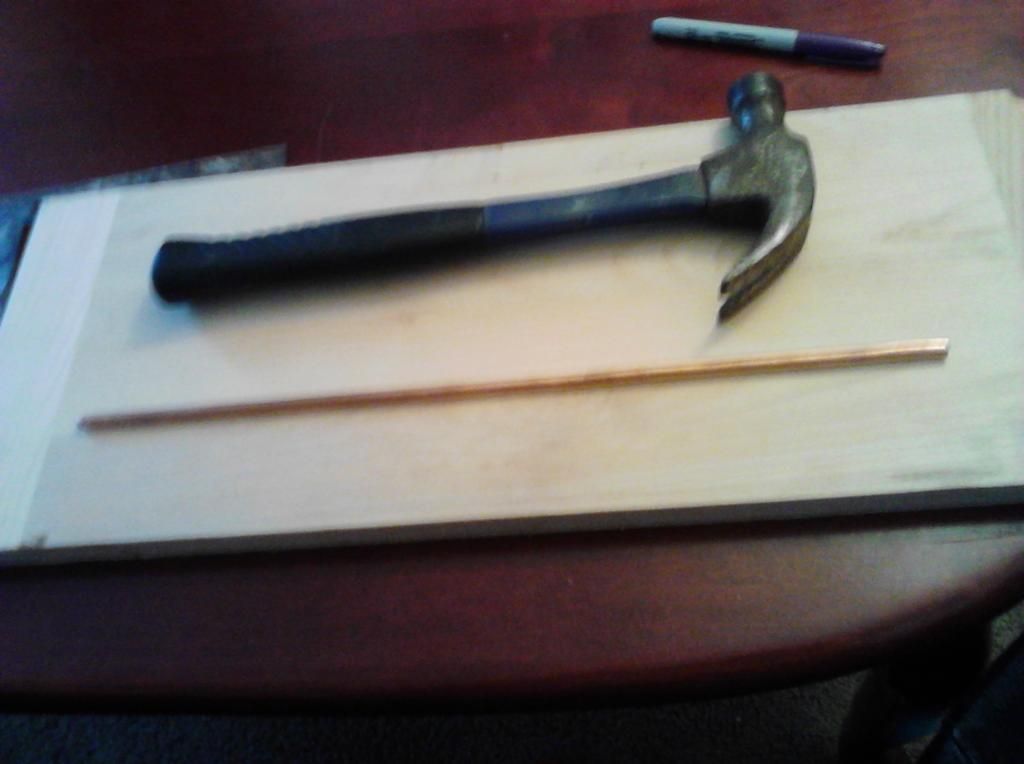
I'll come back to this later on.
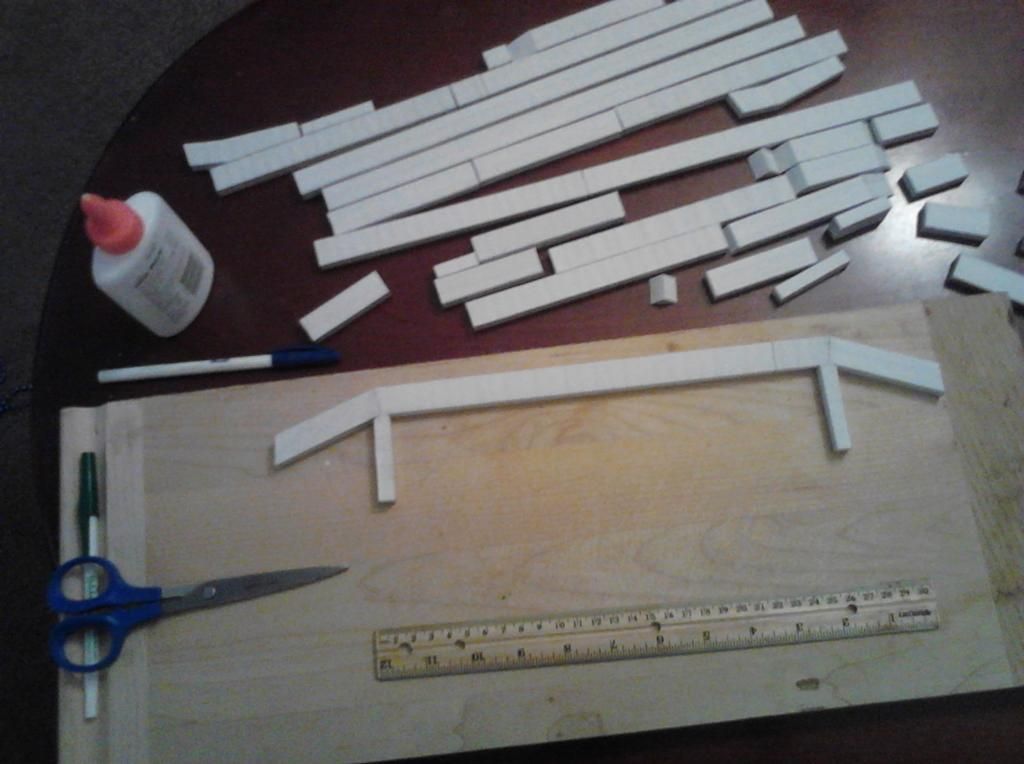
I decided to turn my attention to the square section of the chassis, I printed it out the same as I did the body, and took the parts that looked like this:
And created this.
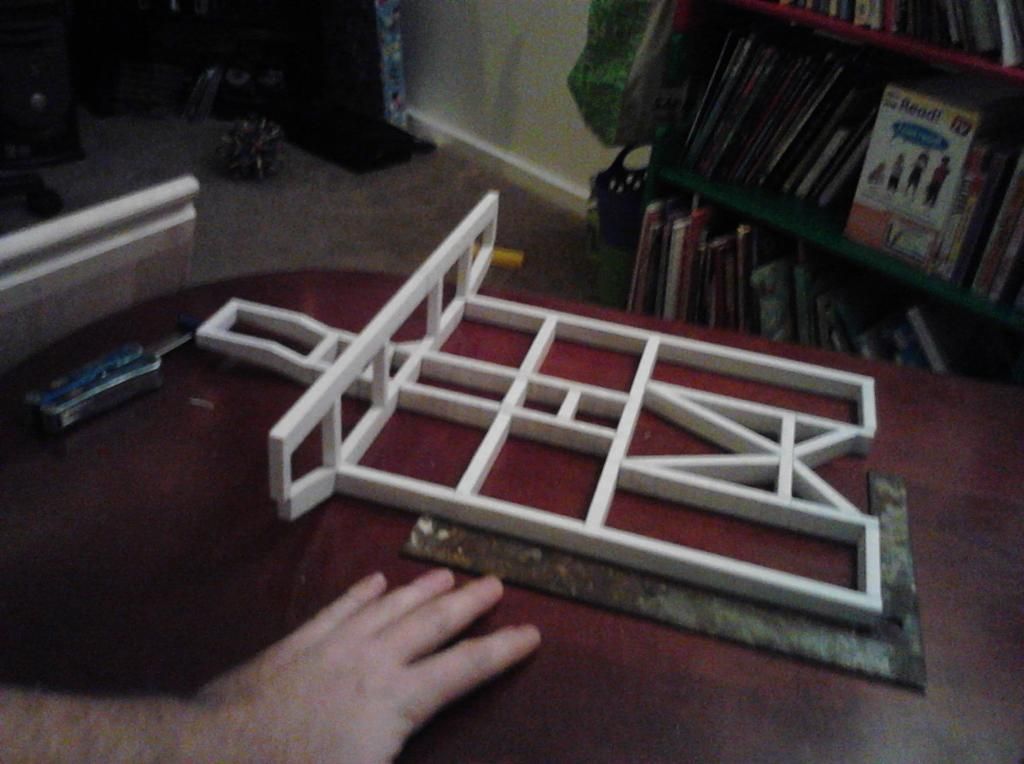
My hand is in there for reference. To be continued.....
“It’s not who I am underneath, but what I do that defines me”
|
|
|
|
| Posted 11/24/2012 1:32:59 PM |
|
|
Getting Better at Internets
Last Login: 11/13/2022 6:06:37 AM
Posts: 2,698,
Visits: 8,392
|
|
testing the full copper round tubing. I'm still considering making the straight sections of the tubing out of paper, and only the bent area's of the piping out of the copper. My son wants me to take a break from the Tumbler and build a 3 foot tall Terminator model.
“It’s not who I am underneath, but what I do that defines me”
|
|
|
|
| Posted 11/25/2012 6:18:14 PM |
|
|

Forum Member
Last Login: 8/14/2021 5:54:38 AM
Posts: 496,
Visits: 2,058
|
|
Coming along nicely Shaggy! Brake lines might also work for your tubing. Those at least start strait and you may be able to use a brake line bender, the bender may not get as tight a radius as you need though. Just an idea.
"there ain't no bat!"
|
|
|
|
| Posted 11/25/2012 11:56:43 PM |
|
|
Getting Better at Internets
Last Login: 11/13/2022 6:06:37 AM
Posts: 2,698,
Visits: 8,392
|
|
That is a really good idea. I might just go that route instead, because the 1/4 piping is actually about 80% the scale that I really need, perhaps the brake pipe will bend better.
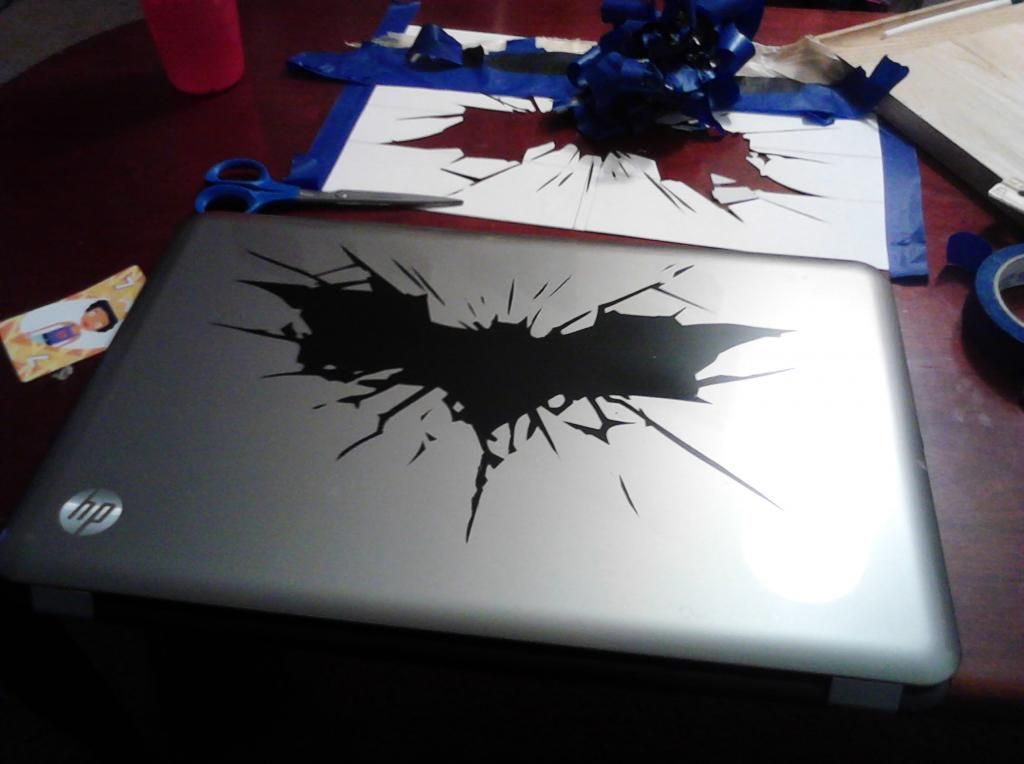
Tonight I decided to take a few hours, and improve my newly purchased laptop. It runs just fine, but I figured I would mod it a lil, It now runs 5000% faster, 100,000,000% more bullet proof, the only unfortunate side is that it now has a shlight lisp. (no offense Christian Bale)
Good to see you posting Chilebean!!!
“It’s not who I am underneath, but what I do that defines me”
|
|
|
|
| Posted 11/26/2012 1:20:09 AM |
|
|

#1 Batmobile Builder

Last Login: 11/1/2021 3:45:24 PM
Posts: 663,
Visits: 3,900
|
|
|
|
|
| Posted 11/27/2012 12:55:53 PM |
|
|

Forum Newbie
Last Login: 1/18/2014 7:17:42 AM
Posts: 7,
Visits: 52
|
|
I've joined this forum to watch this build alone, I did plan to make one myself using pepakura and sketchup but I couldn't find a decent model to adapt.
Seriously amazing work here 
|
|
|
|
| Posted 11/27/2012 5:32:05 PM |
|
|
Getting Better at Internets
Last Login: 11/13/2022 6:06:37 AM
Posts: 2,698,
Visits: 8,392
|
|
88reaper88 (11/27/2012)
I've joined this forum to watch this build alone, I did plan to make one myself using pepakura and sketchup but I couldn't find a decent model to adapt.
Seriously amazing work here
Hey thanks Honored that your first post is in my build log. I wasn't happy with any model either, thats mainly why I built this one from scratch...then brought it into pepakura a little at a time. ....AND ITS TAKING FOREVER!!!! haha
“It’s not who I am underneath, but what I do that defines me”
|
|
|
|
| Posted 11/27/2012 7:10:44 PM |
|
|
Forum Newbie
Last Login: 1/18/2014 7:17:42 AM
Posts: 7,
Visits: 52
|
|
Haha! I know your pain all too well, try unfolding a 1:1 Iron Man!
If you want a hand unfolding then please feel free to get in touch, I'm currently out of work so have allot of time on my hands 
Are you planning to make the seat slide into "bang-bang jumpy-jumpy" mode or have it static like the Hot Toys version?
You can have my second post too
|
|
|
|
| Posted 11/27/2012 8:22:56 PM |
|
|
Getting Better at Internets
Last Login: 11/13/2022 6:06:37 AM
Posts: 2,698,
Visits: 8,392
|
|
My plans are to have the chassis as one piece, and the body as one piece, unbolted from one another, so you can remove the body and expose all the intricate detail of the Tumbler. This build is really just to bide free time until I start the full scale build here in about 3-5 months....
....wait did I just say that aloud? Whoops.
“It’s not who I am underneath, but what I do that defines me”
|
|
|
|