|
|
 Posted 9/9/2009 2:21:15 AM Posted 9/9/2009 2:21:15 AM |
|
|

"Tardmonkey of the Year"

Last Login: 9/6/2011 12:10:05 AM
Posts: 3,367,
Visits: 4,625
|
|
One small step at a time.... 
------------------------
Design and sell your own custom t-shirts, on your existing MySpace page, for free! Download the AP Product Labs app from the app gallery, today.
http://www.myspace.com/approductlabs
|
|
|
|
| Posted 9/11/2009 2:03:46 PM |
|
|

Getting Better at Internets

Last Login: 11/13/2022 6:06:37 AM
Posts: 2,698,
Visits: 8,392
|
|
Hey Justin, i actually knocked off a few more items on that list, i am now down to approximately 15-20 items left to get for the car.
I went and got a good number of items for the Camaro this last week, most of them new believe it or not, I took a picture of the vast majority of them:
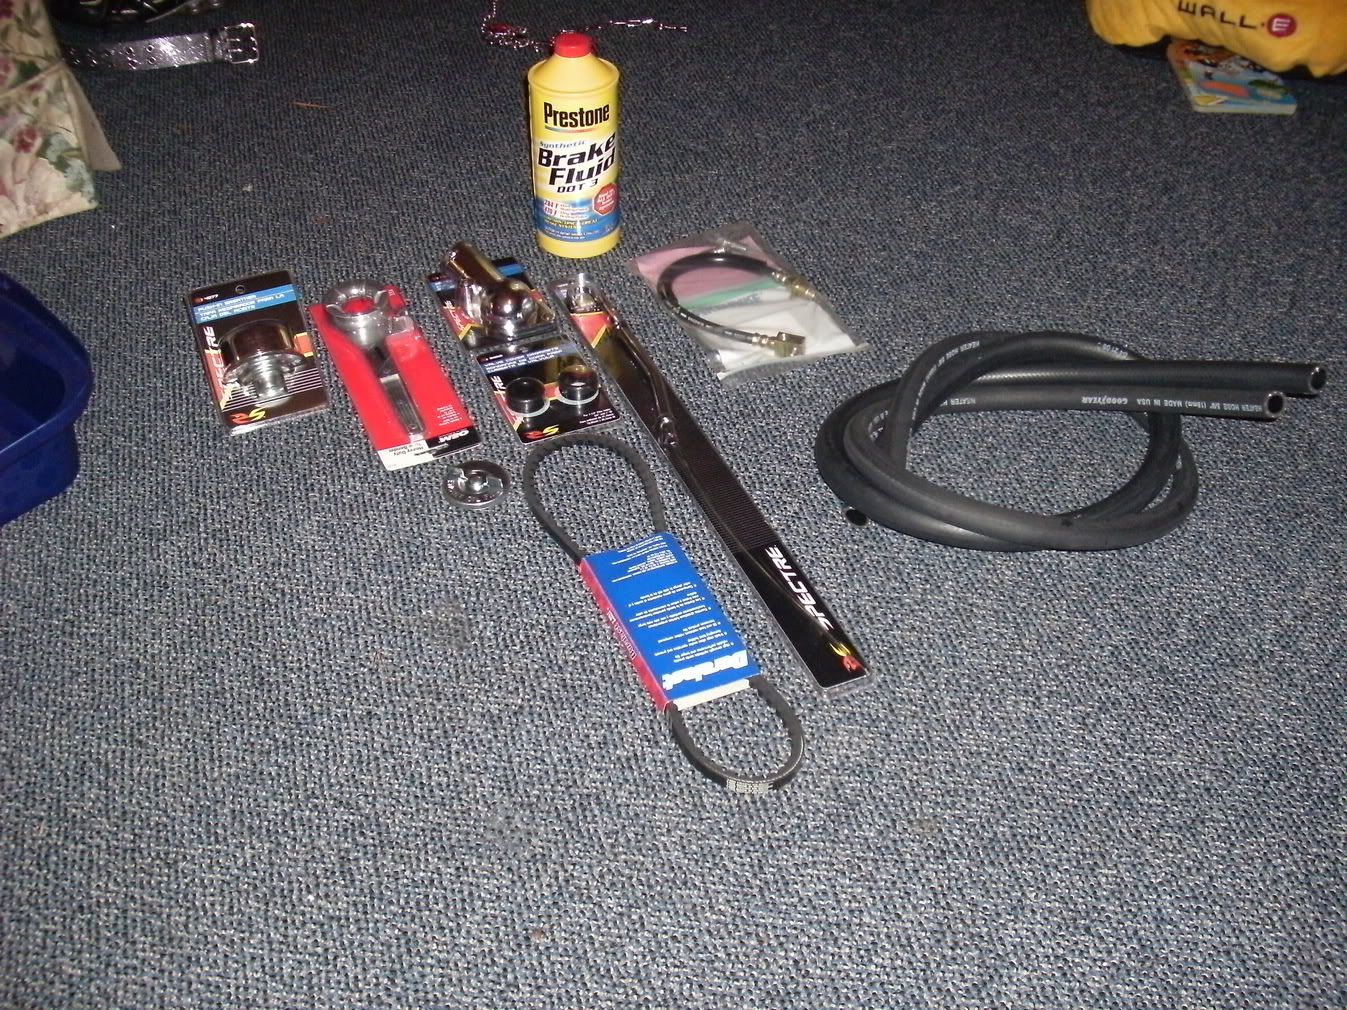
Not pictured is the master cylinder, a few brake lines, a clutched fan, a transmission gear selector, and a few more odds and ends i cant think of at the moment. 
Needless to say i'm very happy. Now if it would just stop raining so i can get stuff done! lol
“It’s not who I am underneath, but what I do that defines me”
|
|
|
|
| Posted 9/14/2009 10:27:15 AM |
|
|
Getting Better at Internets
Last Login: 11/13/2022 6:06:37 AM
Posts: 2,698,
Visits: 8,392
|
|
So the rain slacked up just a bit Saturday morning, long enough for the heat to dry up the car and let me put my windows in and do a few small things on the engine.
I'm going to write this out as a tutorial for those of you who have never put a windshield in, like myself. I hope that you can benefit from the posted information, and perhaps add in your own touch of professionalism to create much better results as i am by NO MEANS a professional at doing this stuff.
Lets start with the back window shall we?
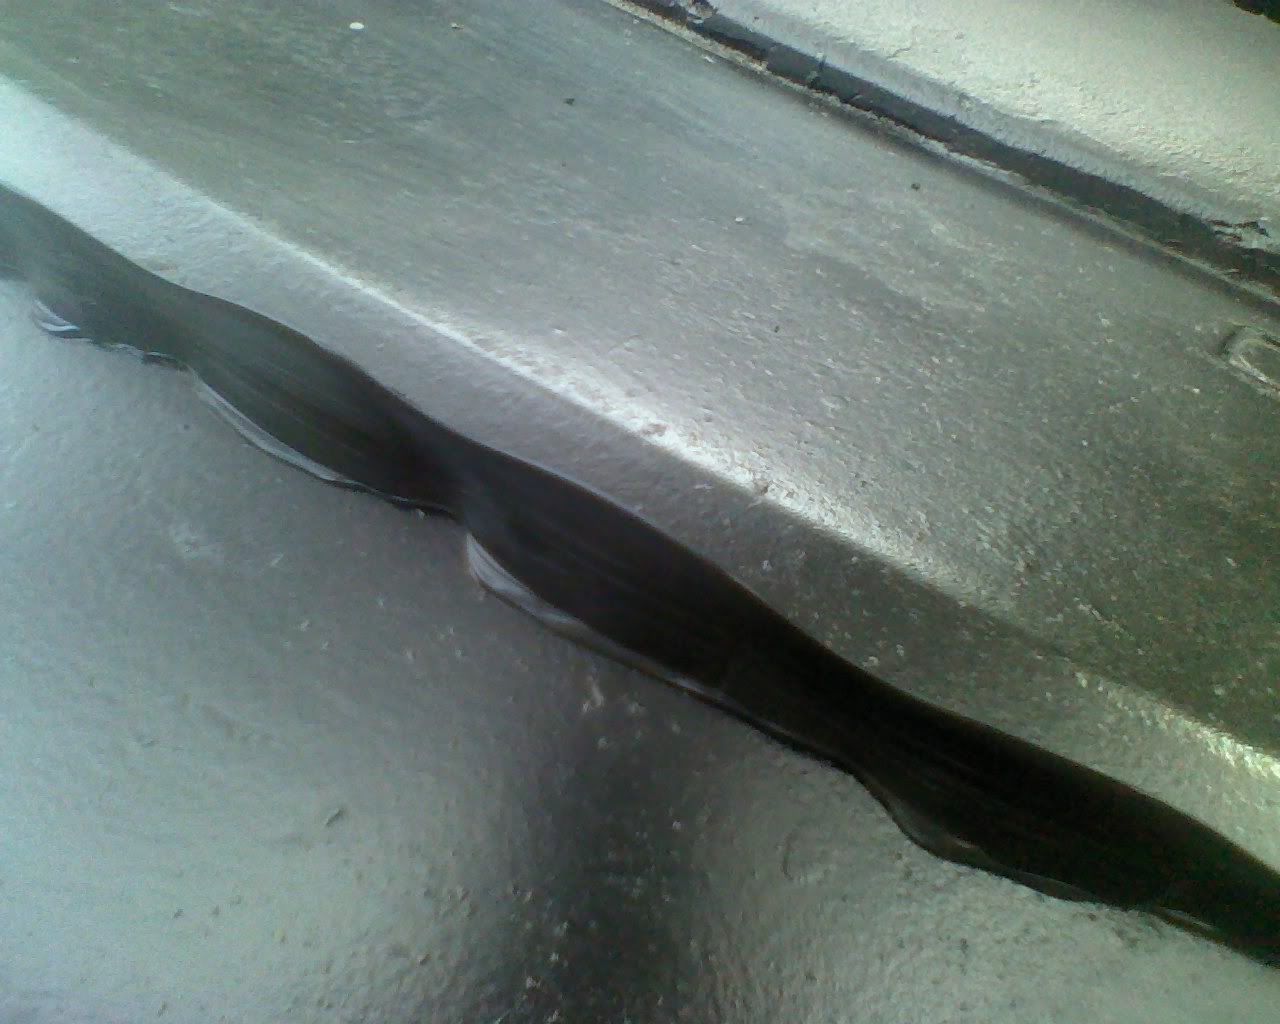
Start applying the channel molding at the bottom center of the windshield, make sure to put your material on in the correct direction, not upside down.
One issue with this material is that its not made for hard turns, so the upper corners of the back windshield on all 70-73 models is gonna be an S.0.B. to work with, all i can do is wish you the best at this point, you will see later my problems in this area.

After you round back around the windshield, simply trim the end to but up against the beginning, if you feel obligated to put some sort of glue between it you can, but the pinch welder you will be adding later will help in the area.
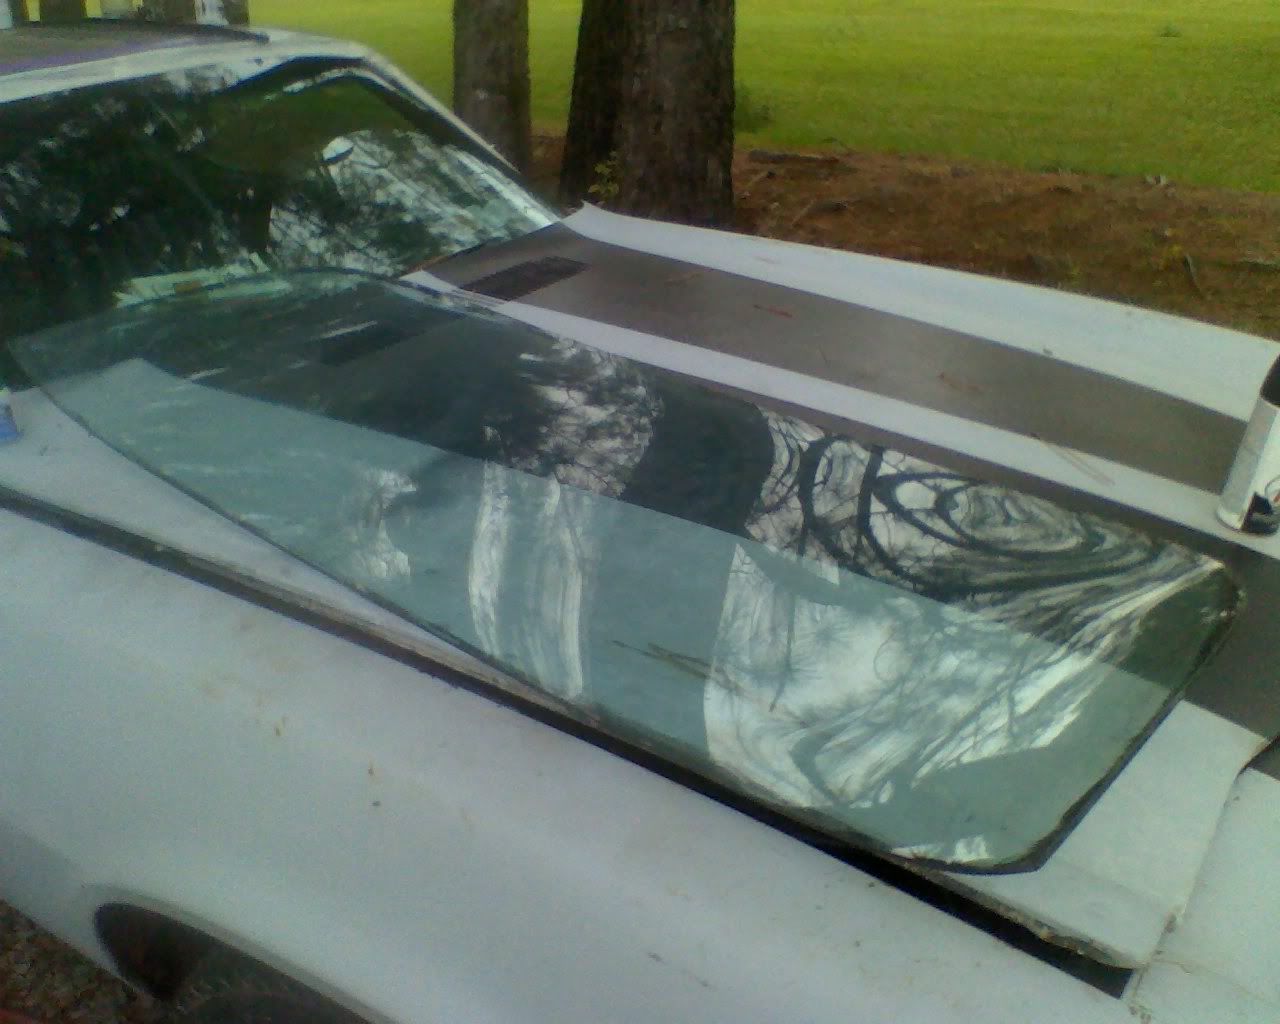
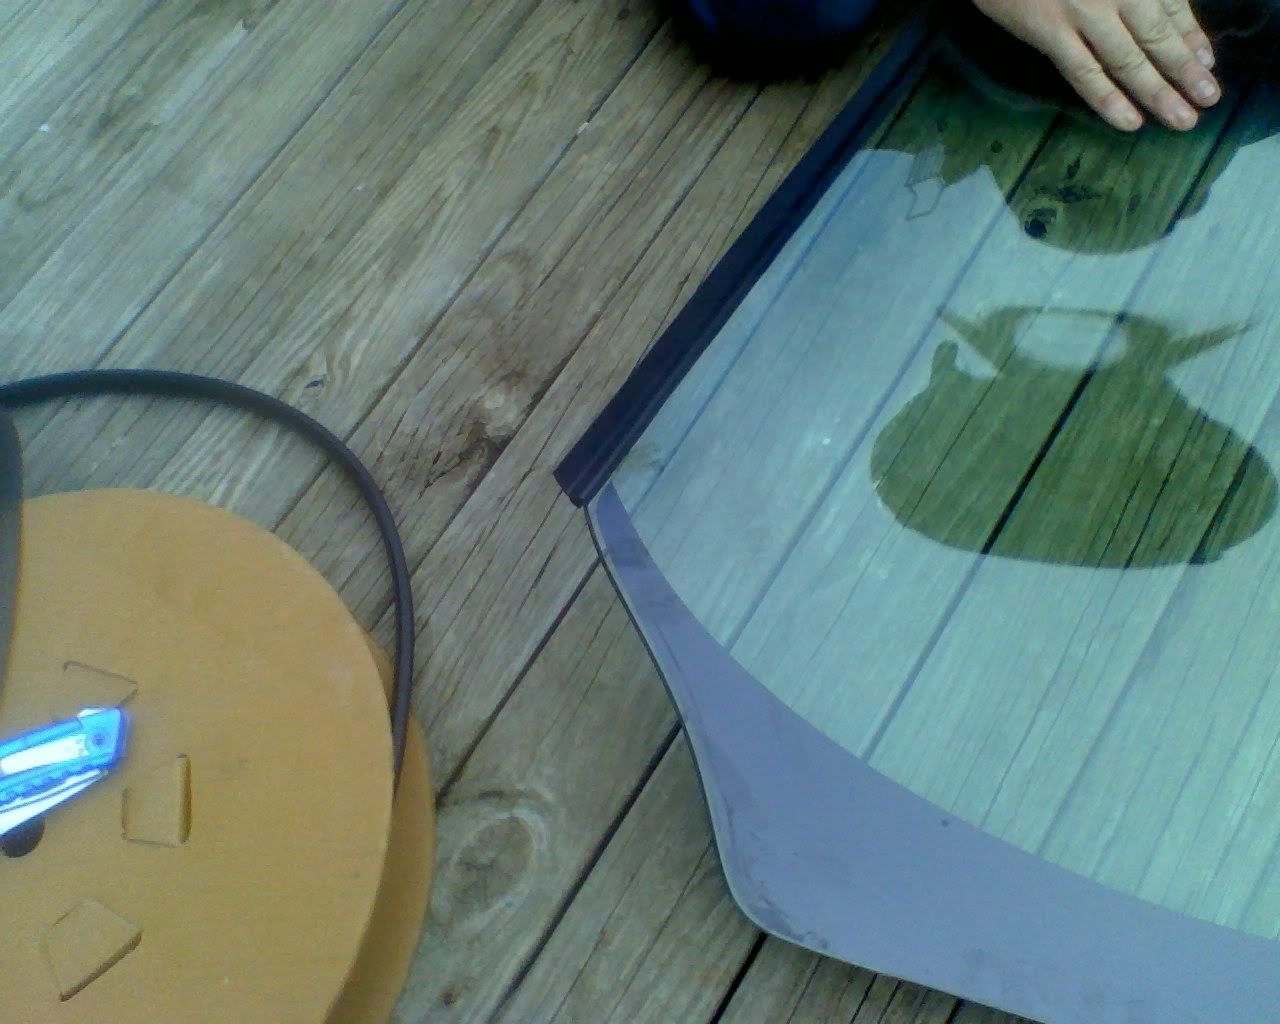
One back window, ready for installation
Front windshield is done basically the same, only difference is you start the channel molding here:
go around the top of the windshield and simply end it on the other side.
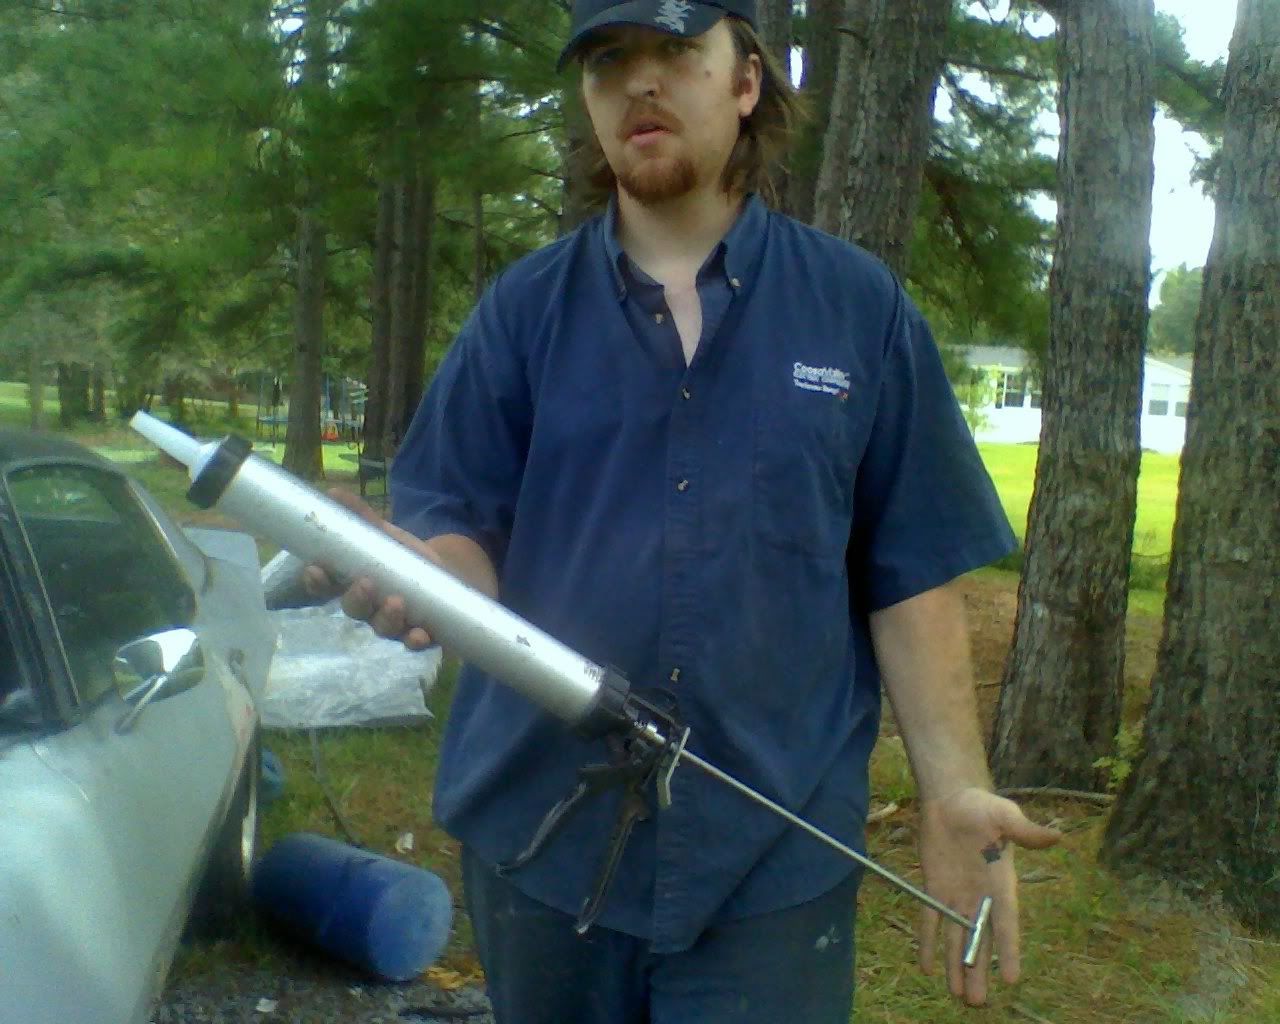
Now that we have both windshields channel molded, we need to get our glue gun prepped. It looks like a regular caulking gun, but a little bigger.
Here is the glue i used, i got two tubes to install both windshields, but actually only ended up using one full tube.
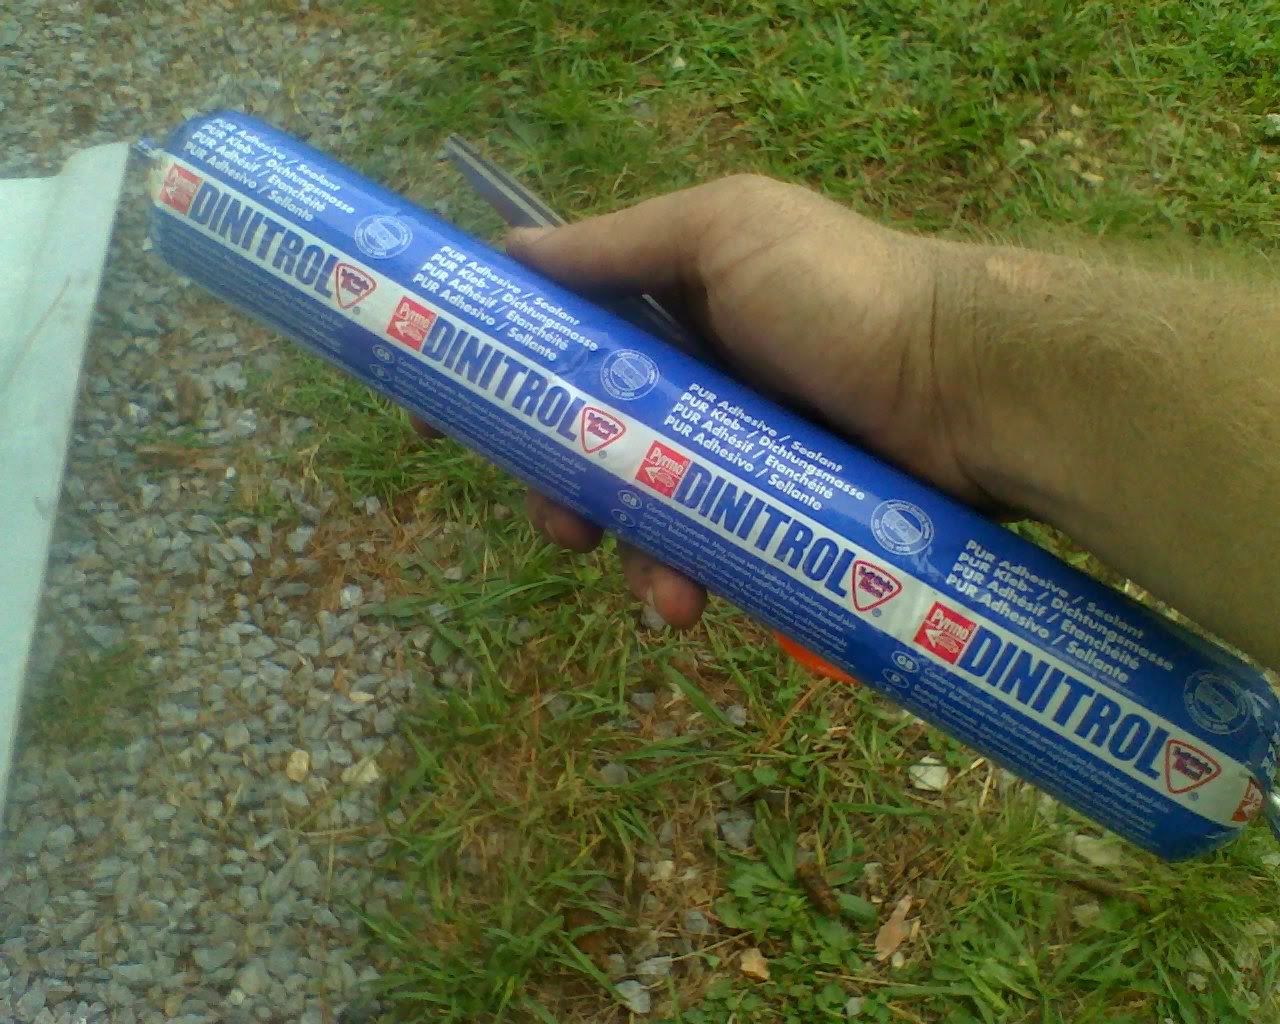
snip the end of it, and load it into your glue gun.

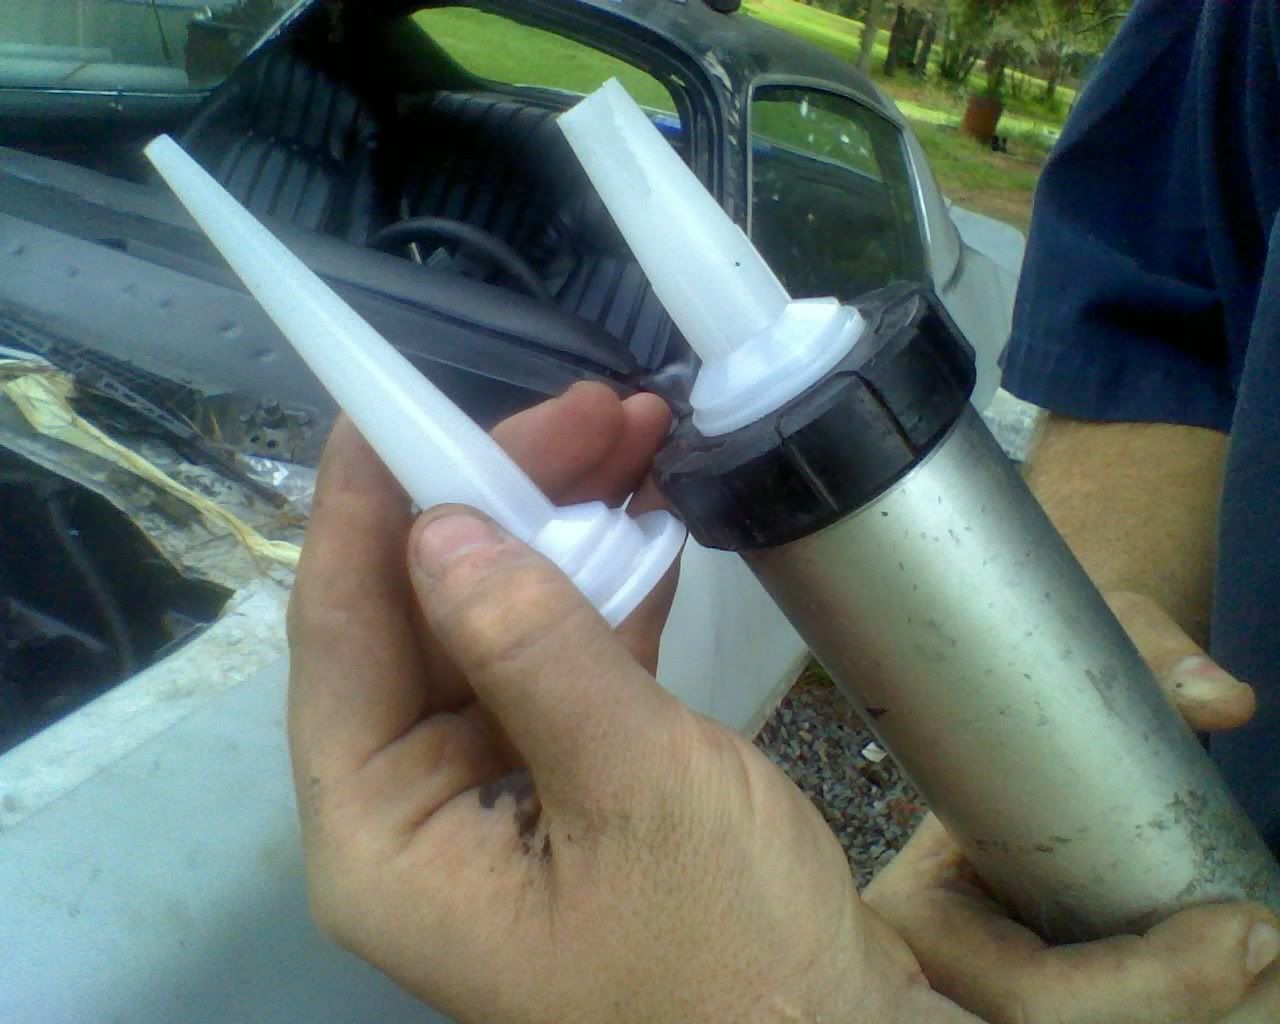
Then put your tip on the gun, to the left is a tip as it comes to you, to the right is a modified tip, the V notch helps create a high level of glue, this is important as it will help bring your windshield flush with the cars body and create a more streamline look.
Now that we have the channel molding on, and the glue gun prepped. We need to clean up our window area on the car, both front and back. then cut off the little nails that let you hook on your chrome trim. I didnt take any pictures of this area, basically get rid of the rust, cut off the nails, and paint the area, i chose to paint my area's black instead of leaving them primered.
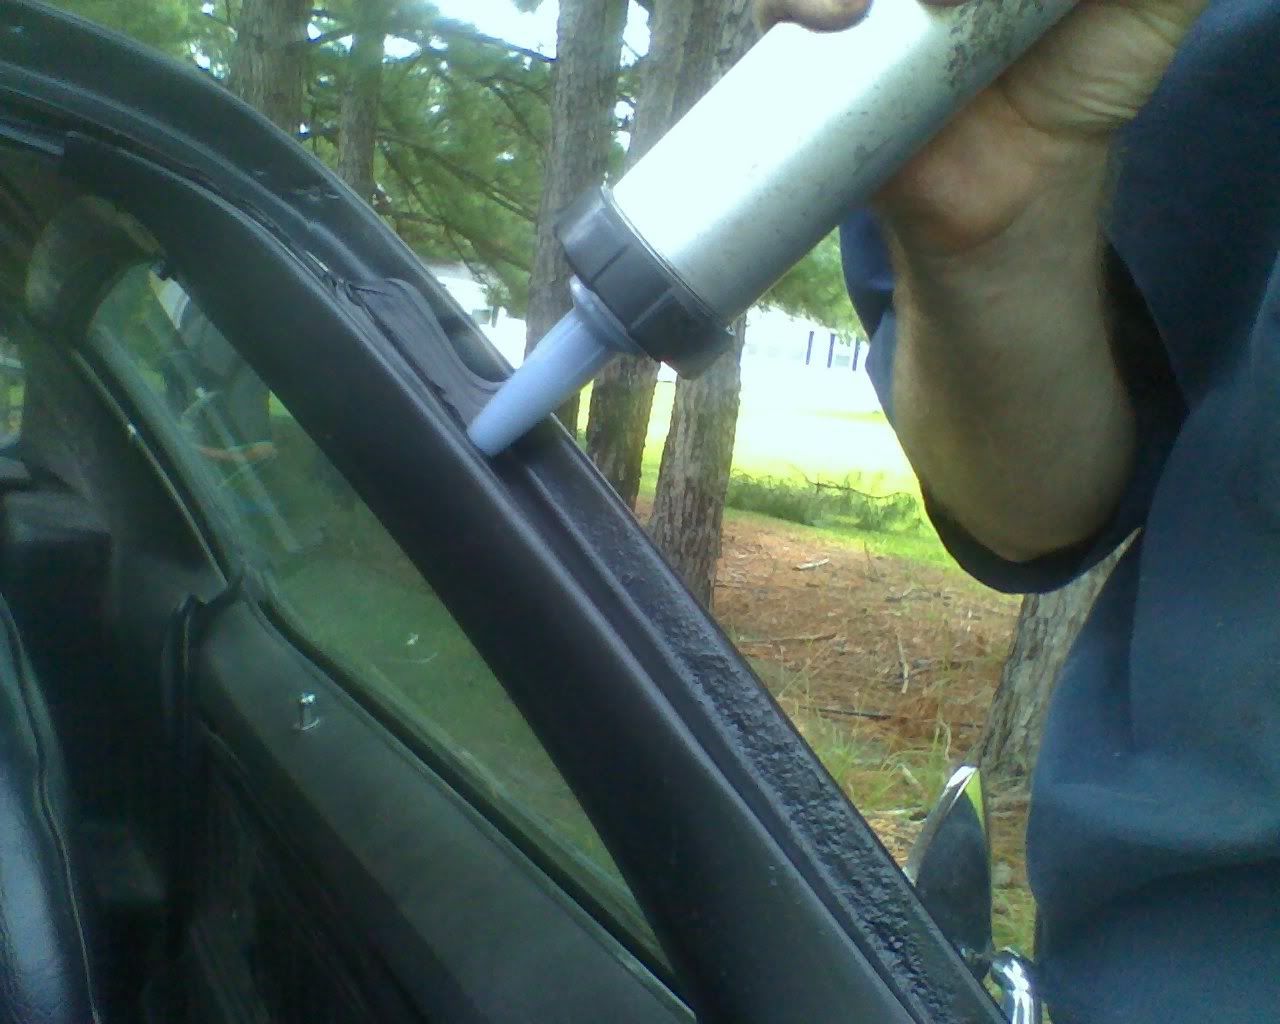
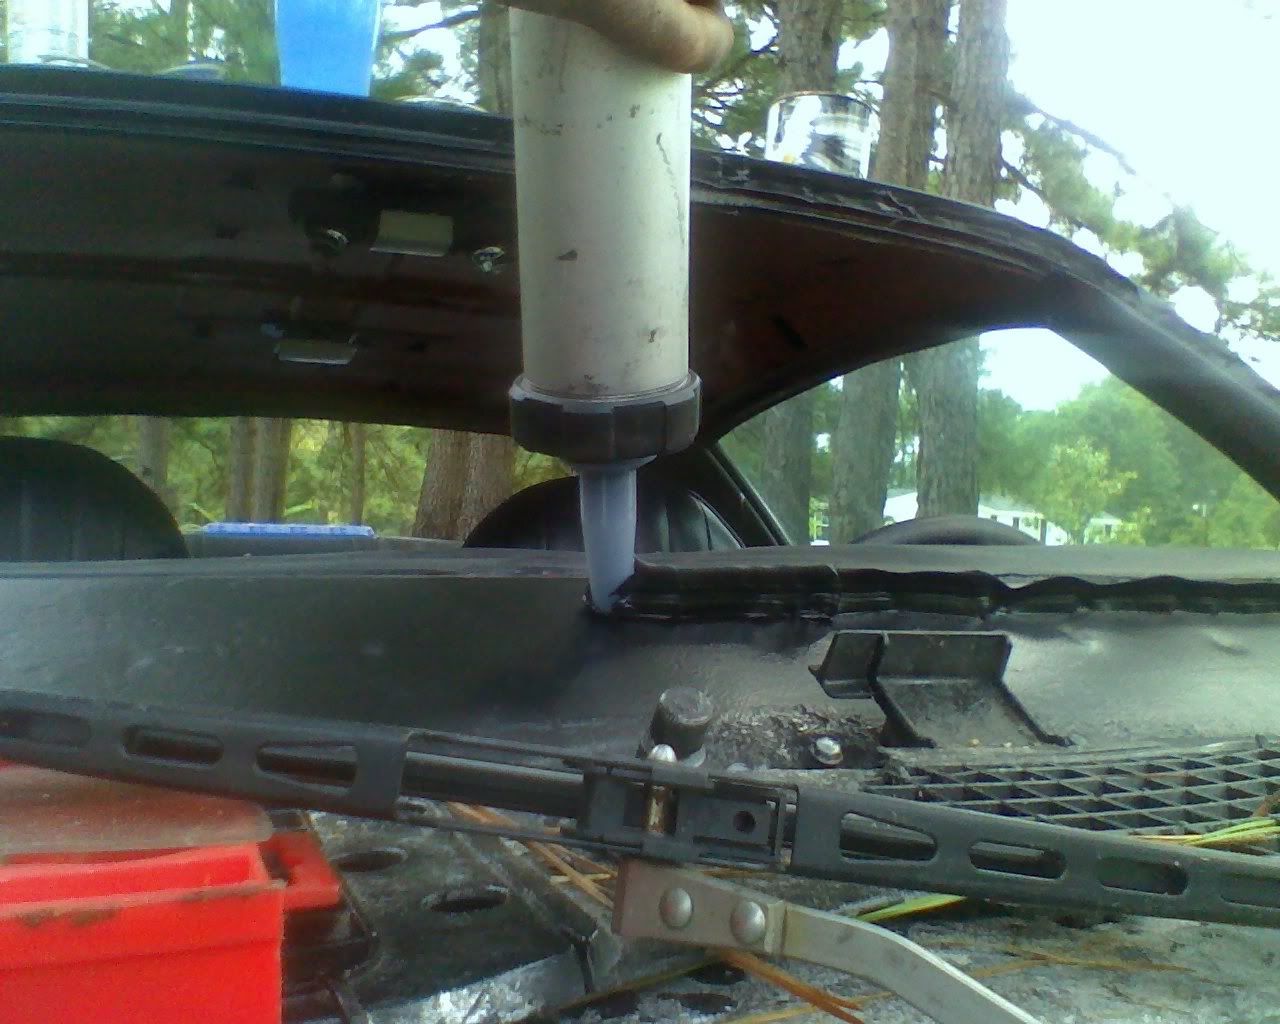
Now take our glue gun and build a layer of glue all the way around the windshield areas. If you are installing both the front and back windows like this i suggest going ahead and caulking both areas now.
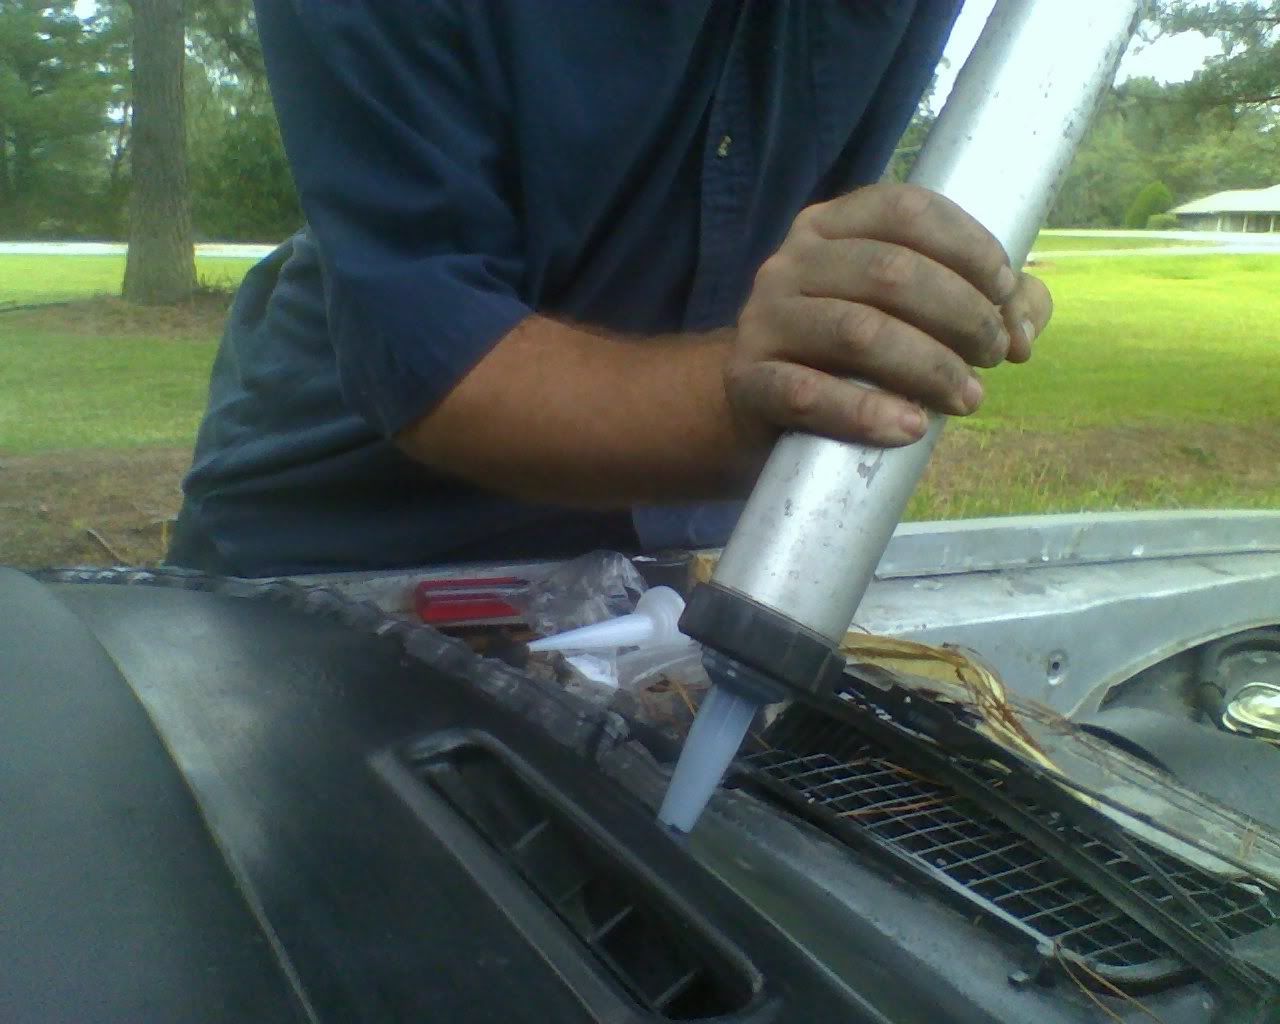
Now that we have that all done, we need to open up our little can of pinch welder, the purpose of this is to help the channel molding get a proper seal to the window, it dries quickly so haste is key here.
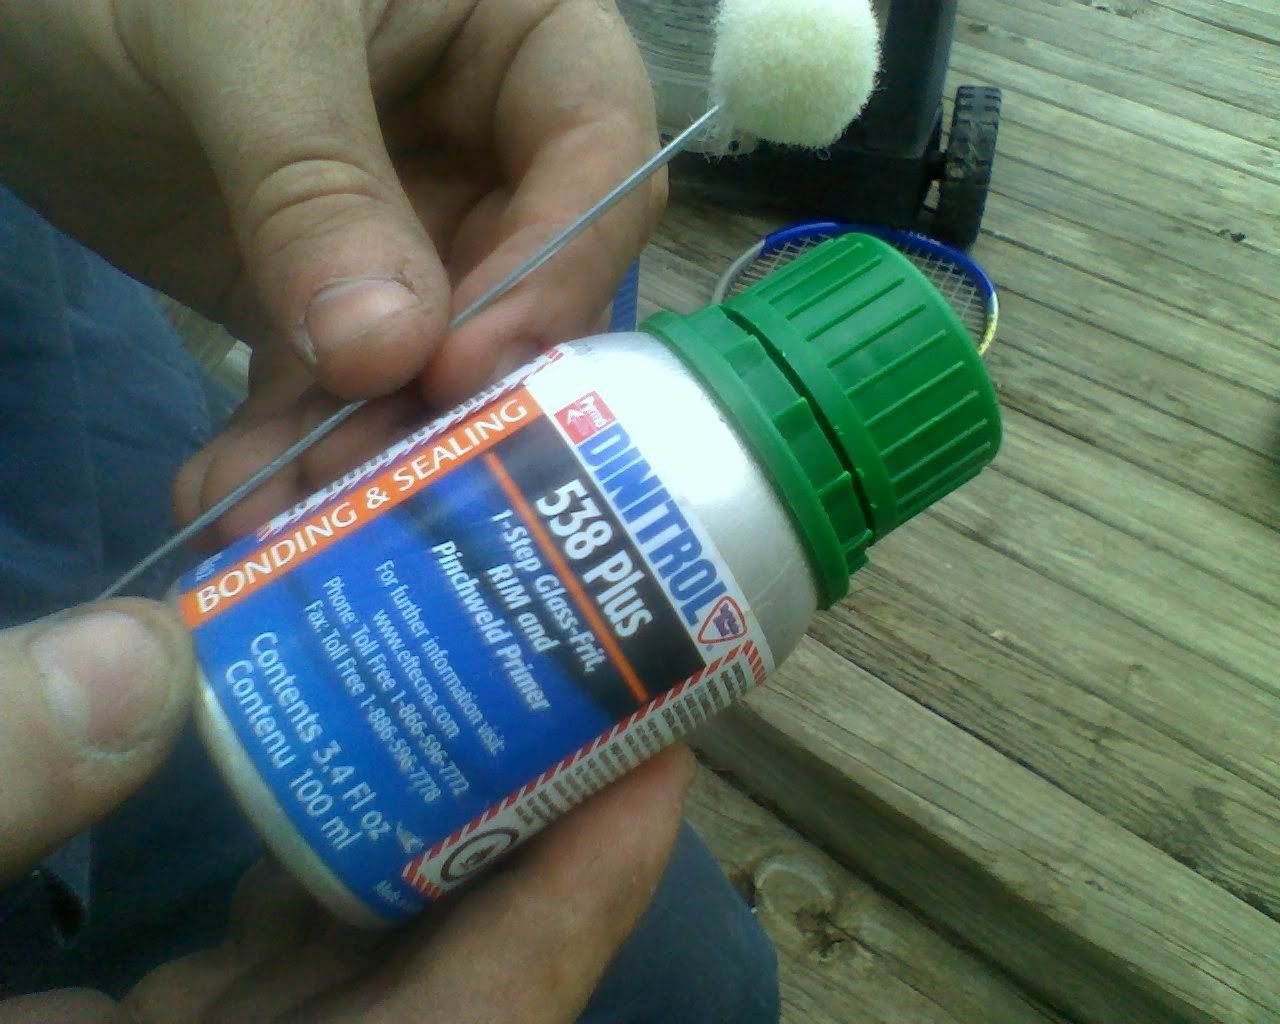
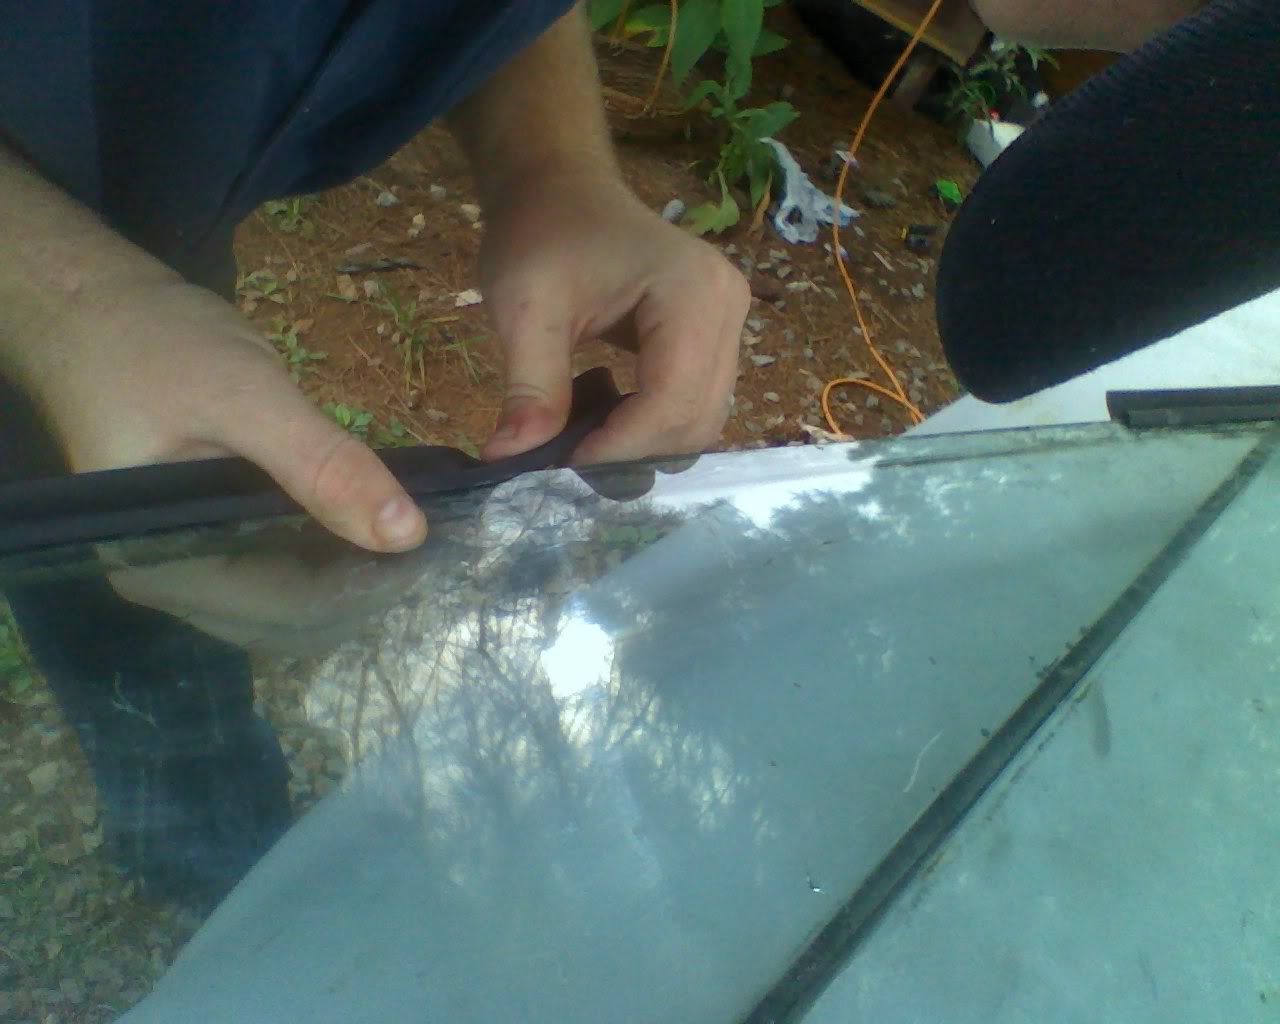
It comes with a little ball swab, shake the contents of your can vigorously, pop the top, and dab your swab in generously.
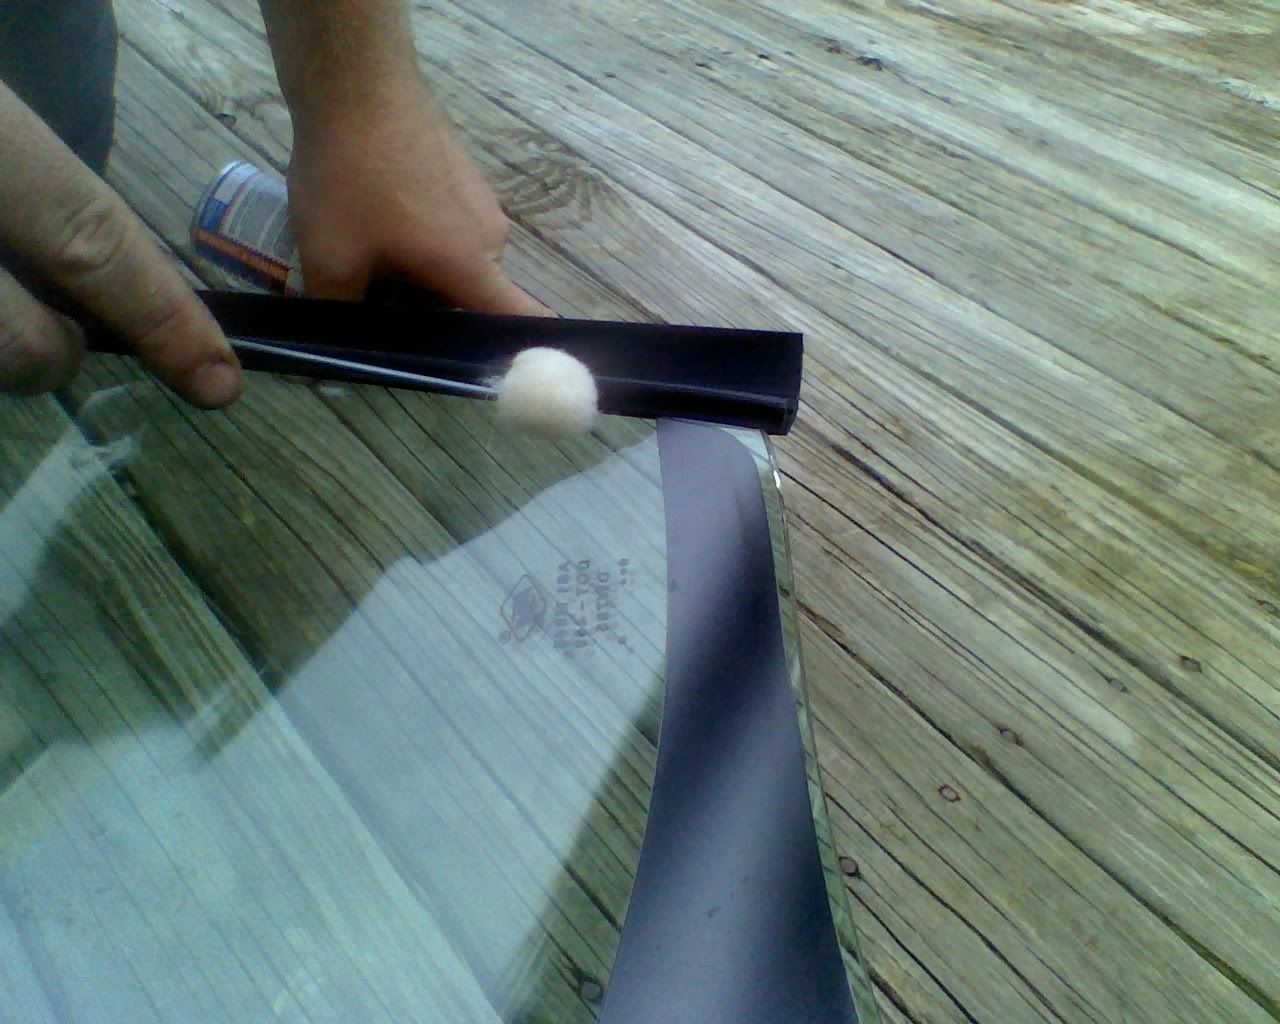
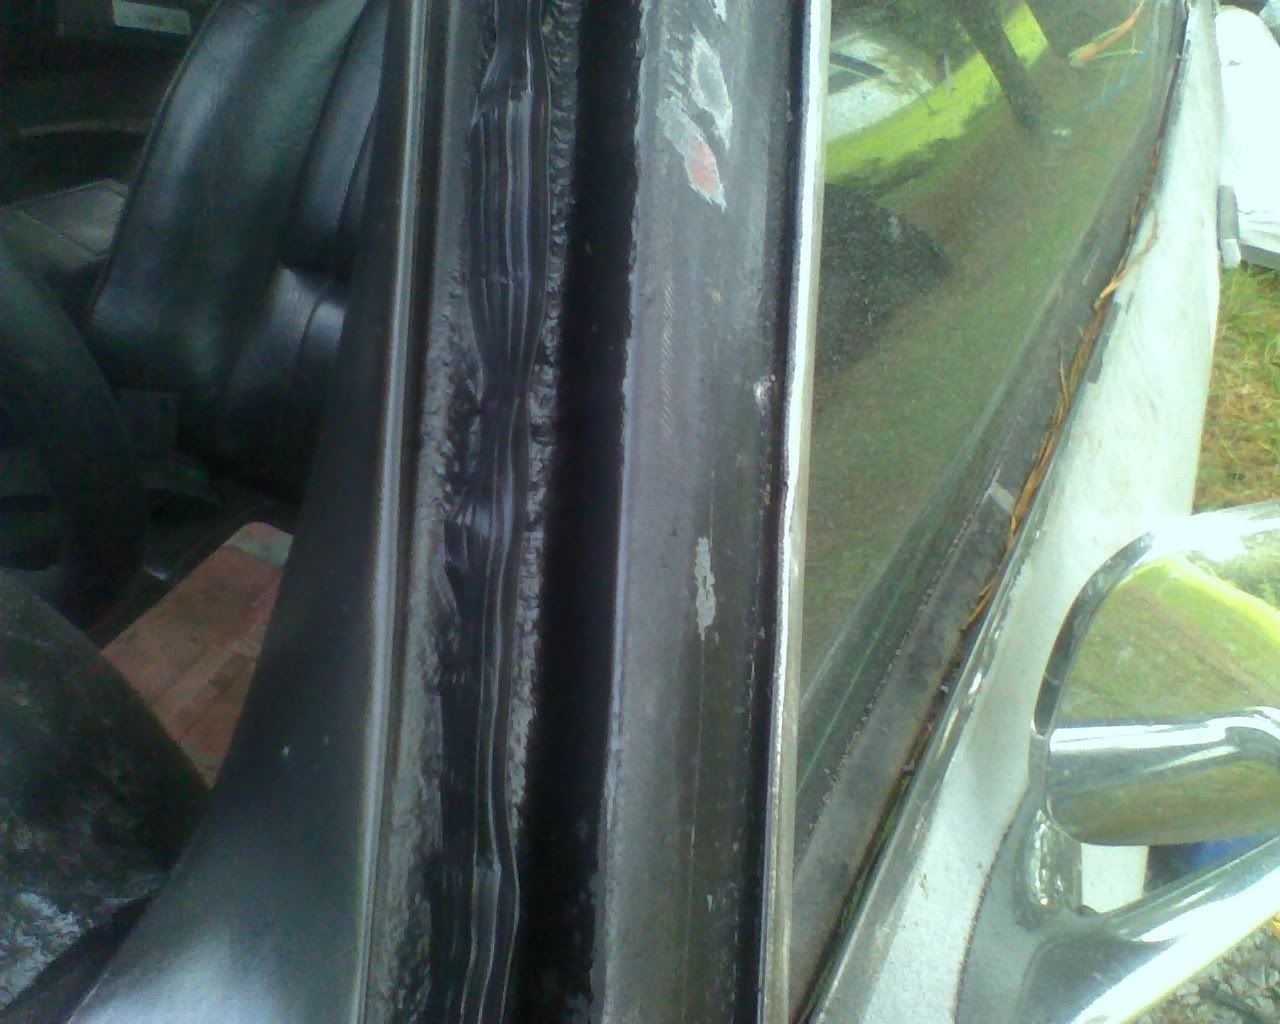
Then apply the contents onto your windshield INSIDE where the channel molding meets the windshield. Put the swab half and half on the windshield and molding, and then with a smooth slide, pull it the direction of the molding using VERY little force, you push down too much and the pinch welder has a tendency to run. Also if you push down to hard it will create waves, you will see these waves on the outside of the windshield after it dries.
If you feel you dont have a steady enough hand, i suggest taping off your windshield a distance from the pinch weld, so after you lay the stuff down, you can pull your masking tape and will have a clean edge all the way around.
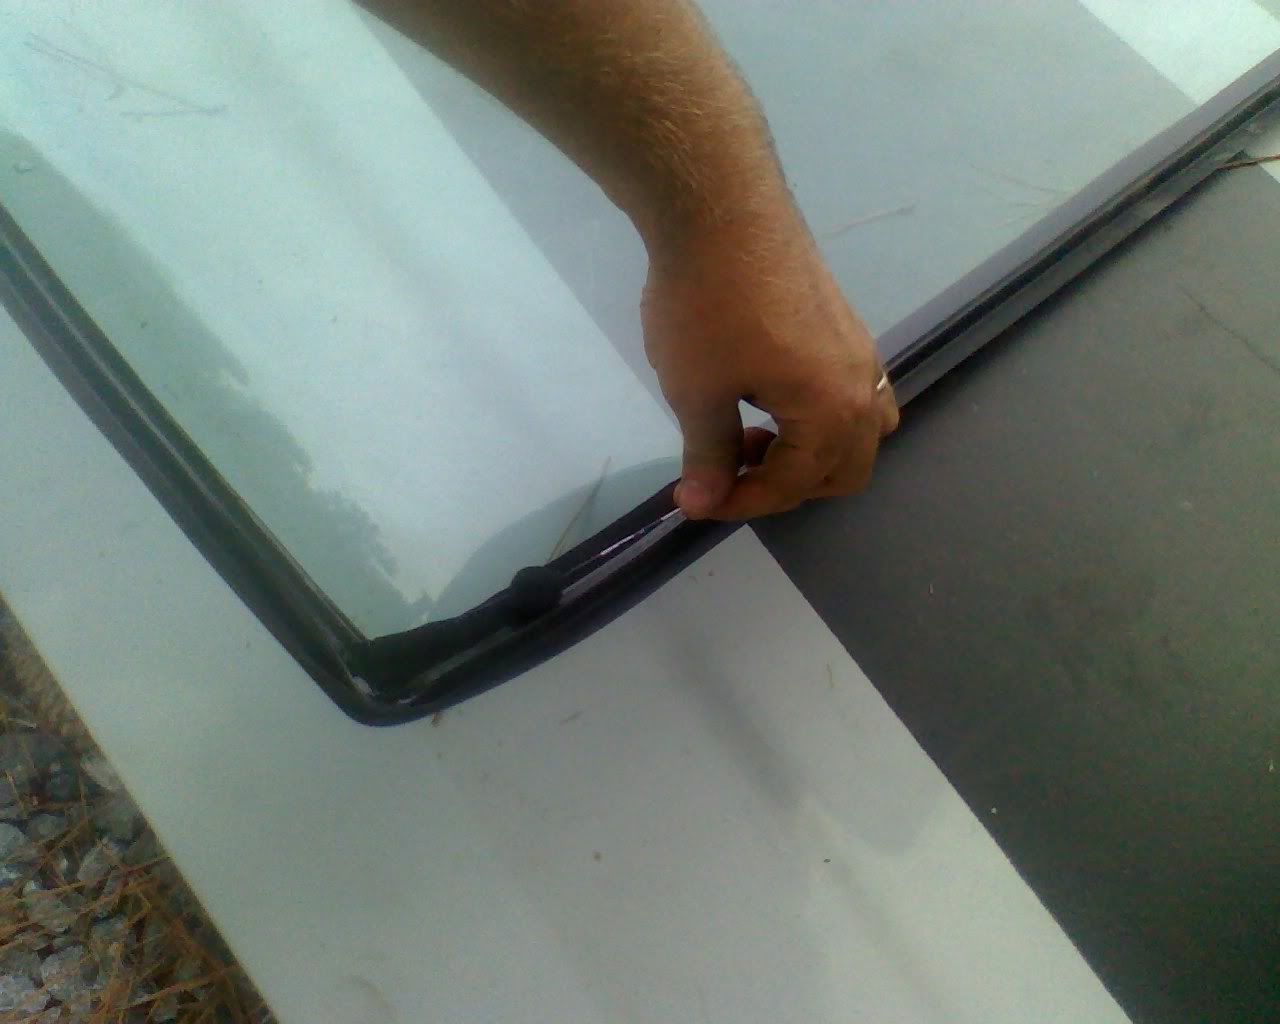
Now you have your glue and your pinch weld in place its time to get your camera person to put down the camera and help you install your windshield. Obviously i didnt get pictures of the actual install, but its not hard. Simply put the windshield against the setting blocks and slowly let it lean in on the top, after both sides are completely down, check the centering of the windshield, make sure its not too far left, or too far right, or your channel molding will not set against the A pillar correctly. Then with a firm, yet gentle push, make sure the windshield seats itself all the way around against the glue. This is important as to keep out leaks.
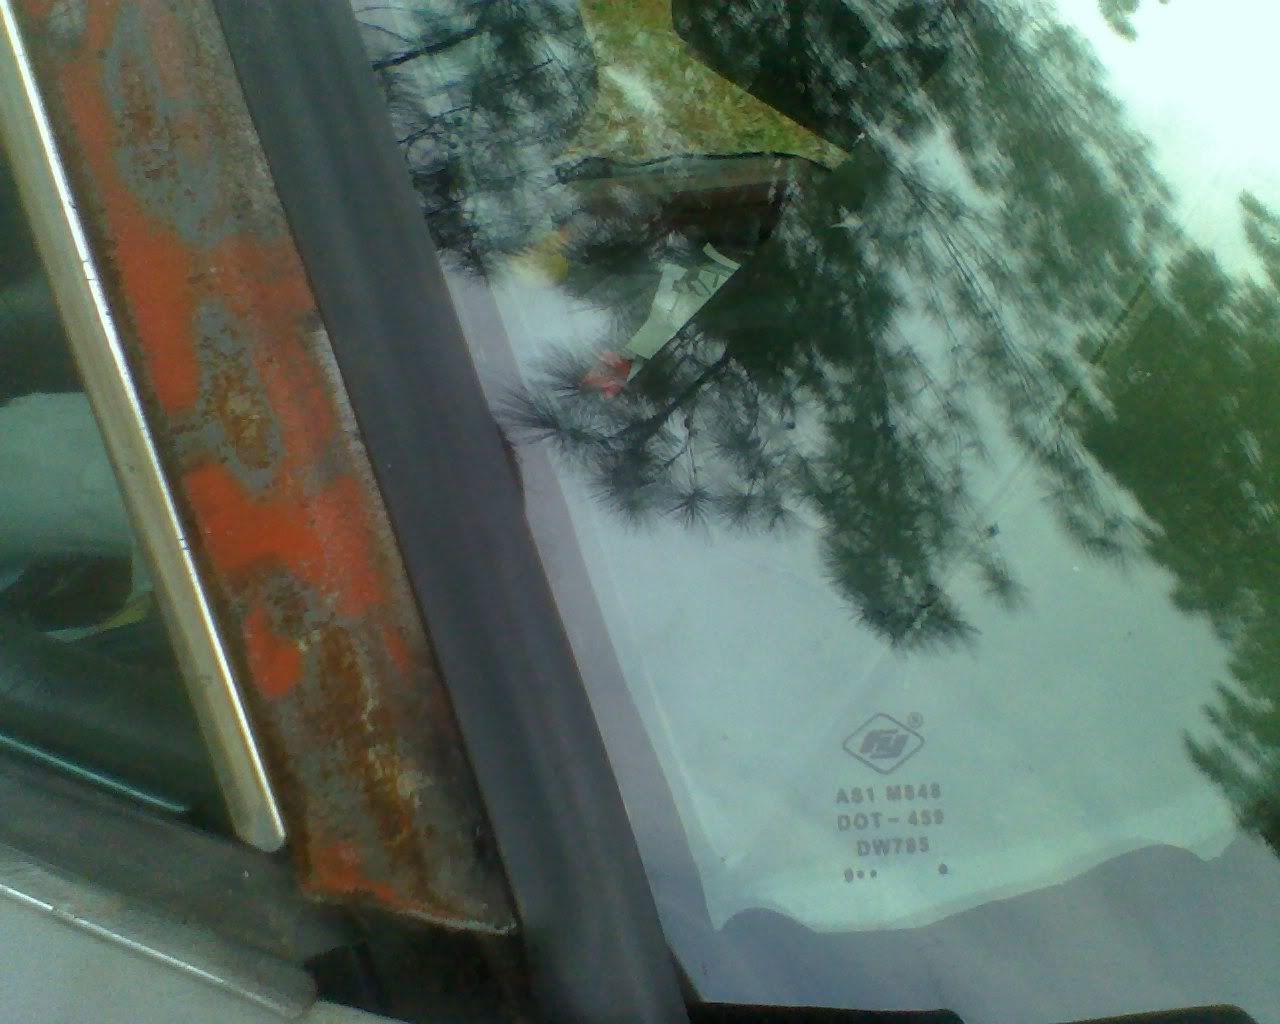
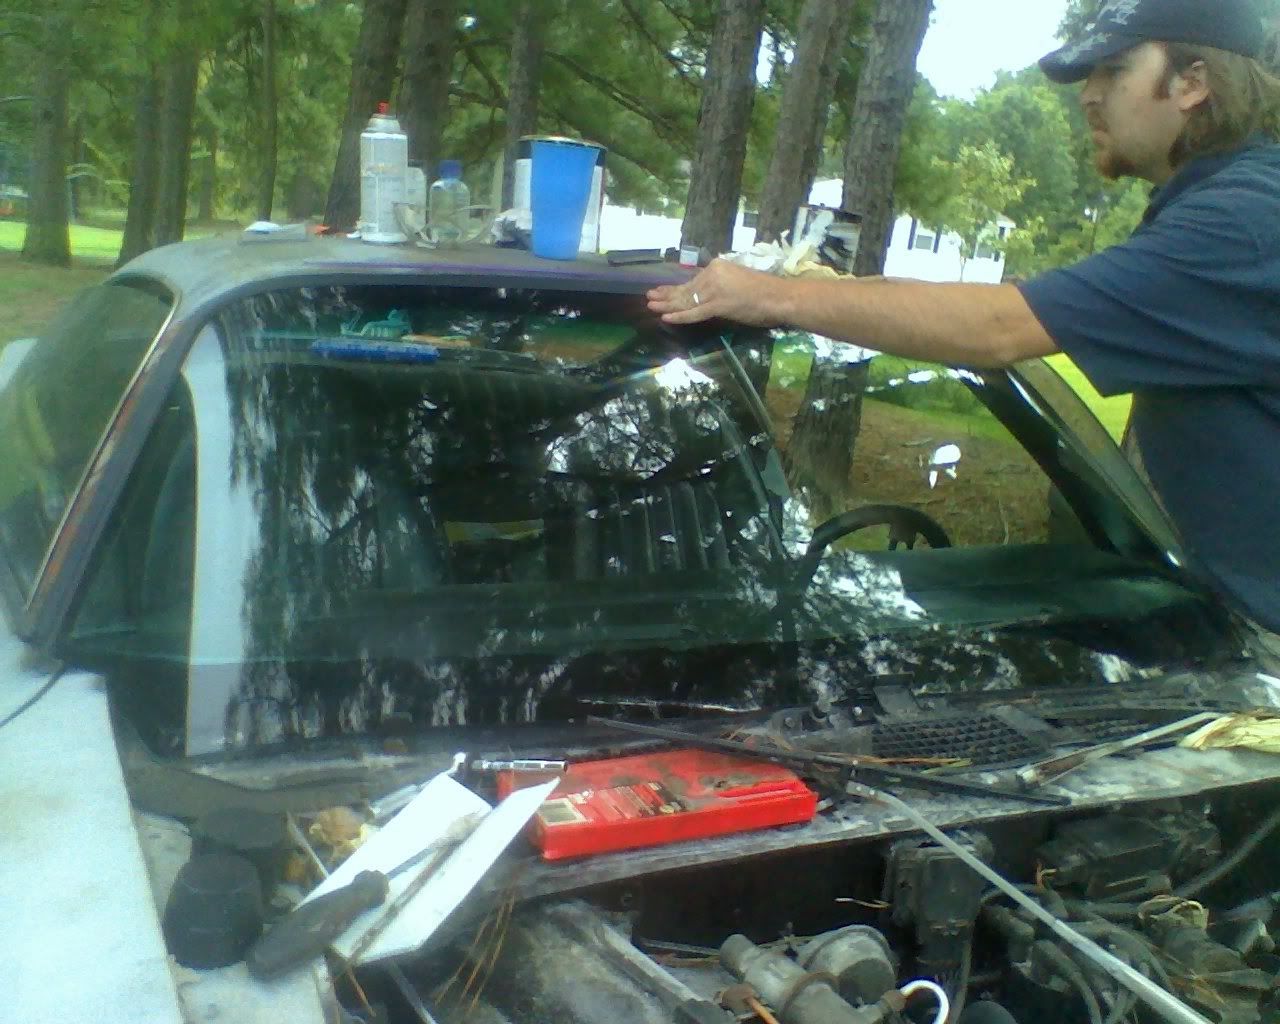
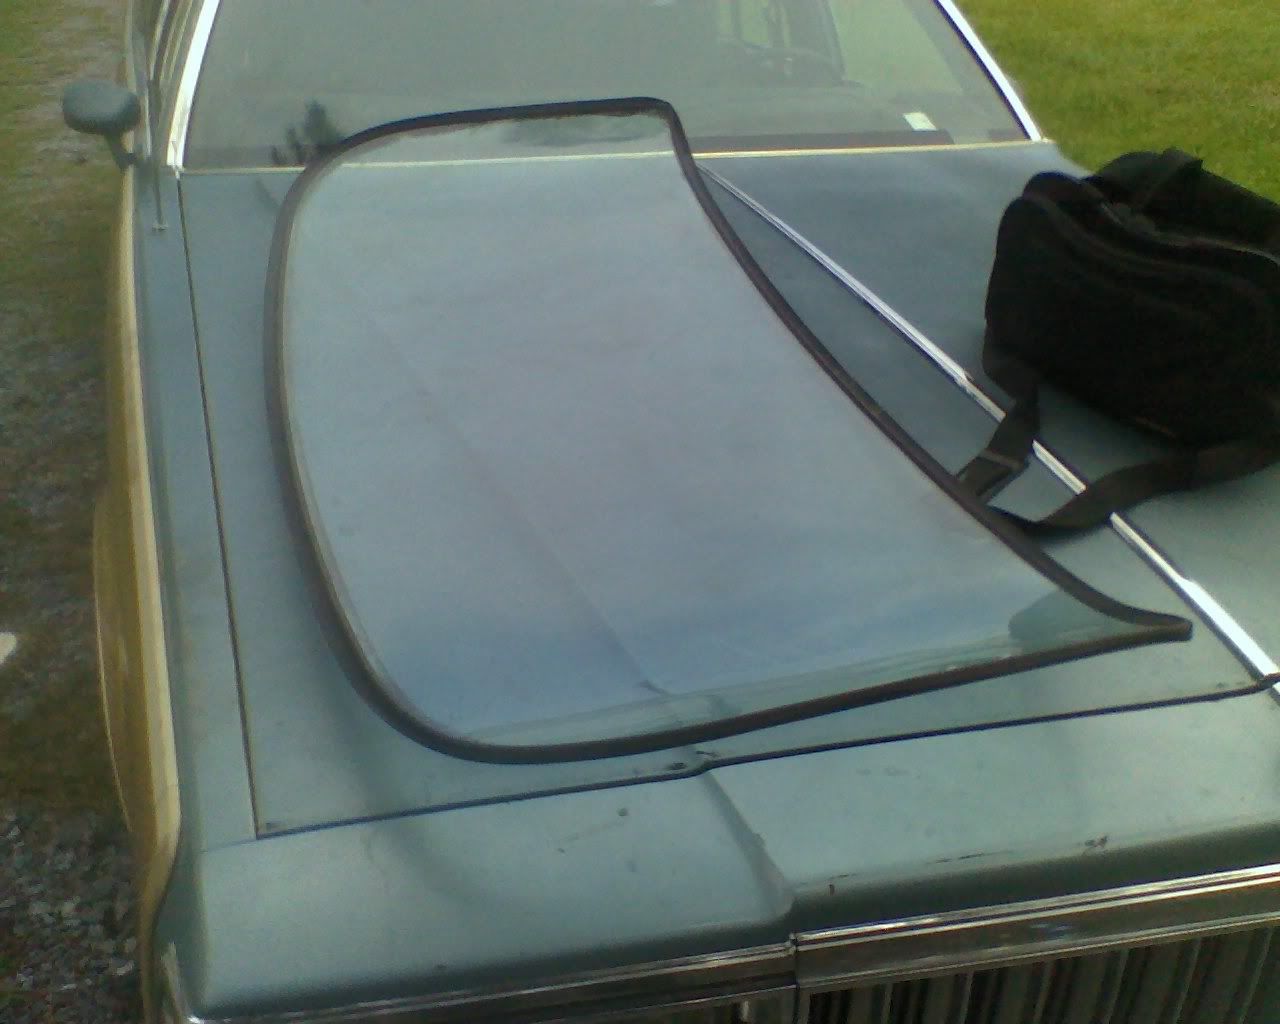
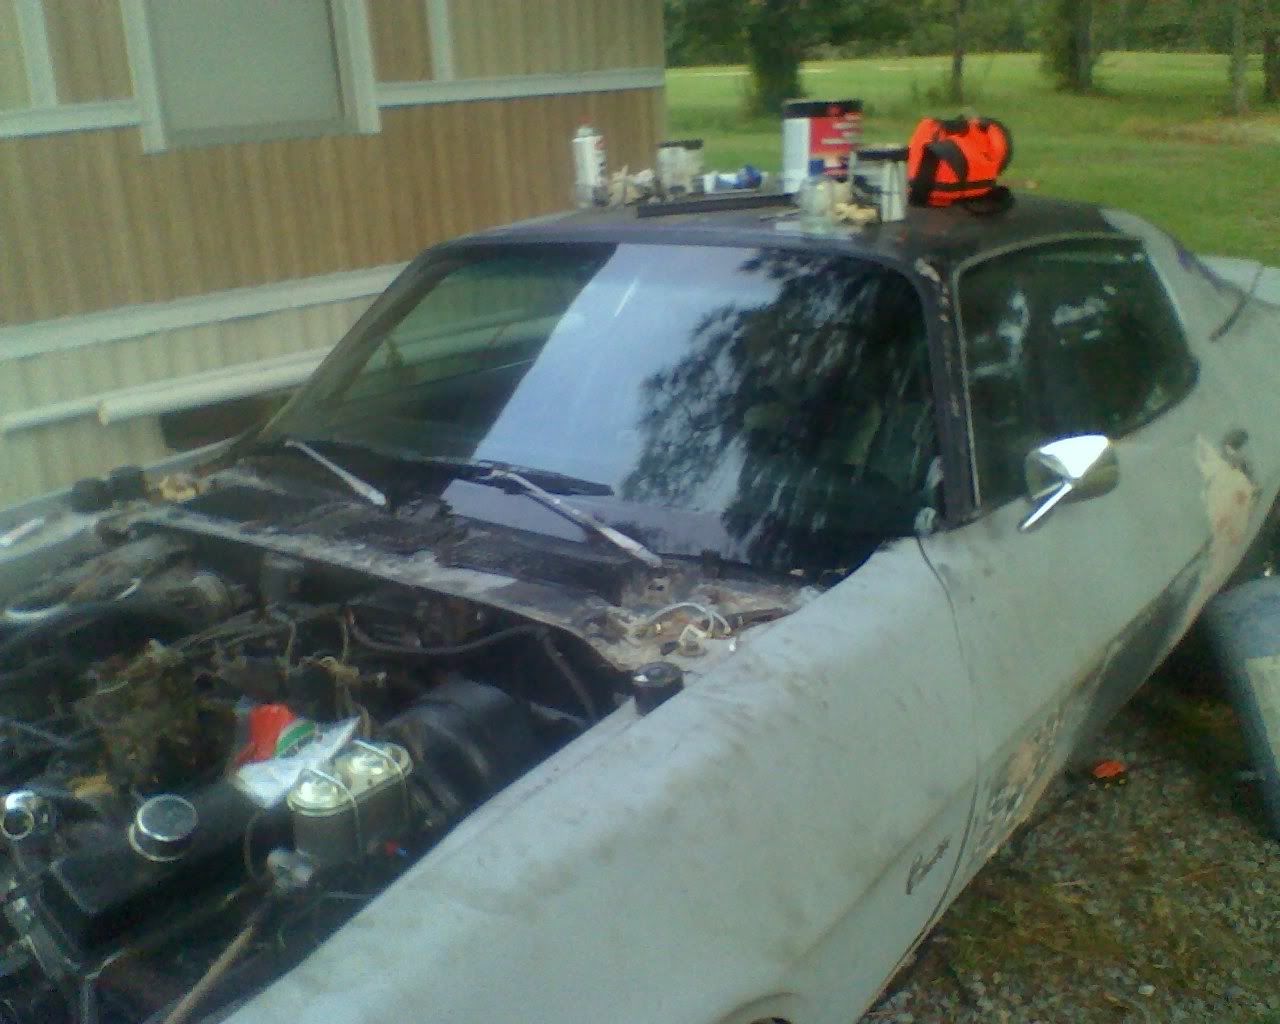
And we finally have a front windshield installed!
Now the back windshield installs in a very similar way. But remember how those corners folded at the top due to the hard curve? They folded yet more on the car, i tried heating the area hoping to stretch the material to curve with the window, but that didnt help any. I added more glue, and forced the corner down with duct tape to let it dry. I hope that once the glue cures it wont pop back up again.
In conclusion a few things i would do differently.
Instead of buying the 1" channel molding, i would shoot for something more around the 1 1/4" to 1 1/2" area to assist with setting. The front windshield isnt so bad, but the back is holding on by just a hair. So wider strip would be beneficial there. Since i plan on putting the vinyl top back on the car that will thicken the areas around the windows just a bit and help the channel molding have something to lay against, but for those who wont be putting vinyl tops on their cars, wider channel molding is a good idea.
Also, when gluing the front windshield, lay the bead of glue on the bottom part a touch lower, i didn't realize i was too high with my bead, and you can now see my glue line.

Tho a little unnerving, its not so bad.
I hope this tutorial has proven useful to atleast one person out there!
I hope this helps!
“It’s not who I am underneath, but what I do that defines me”
|
|
|
|
| Posted 9/14/2009 10:42:43 AM |
|
|
Getting Better at Internets
Last Login: 11/13/2022 6:06:37 AM
Posts: 2,698,
Visits: 8,392
|
|
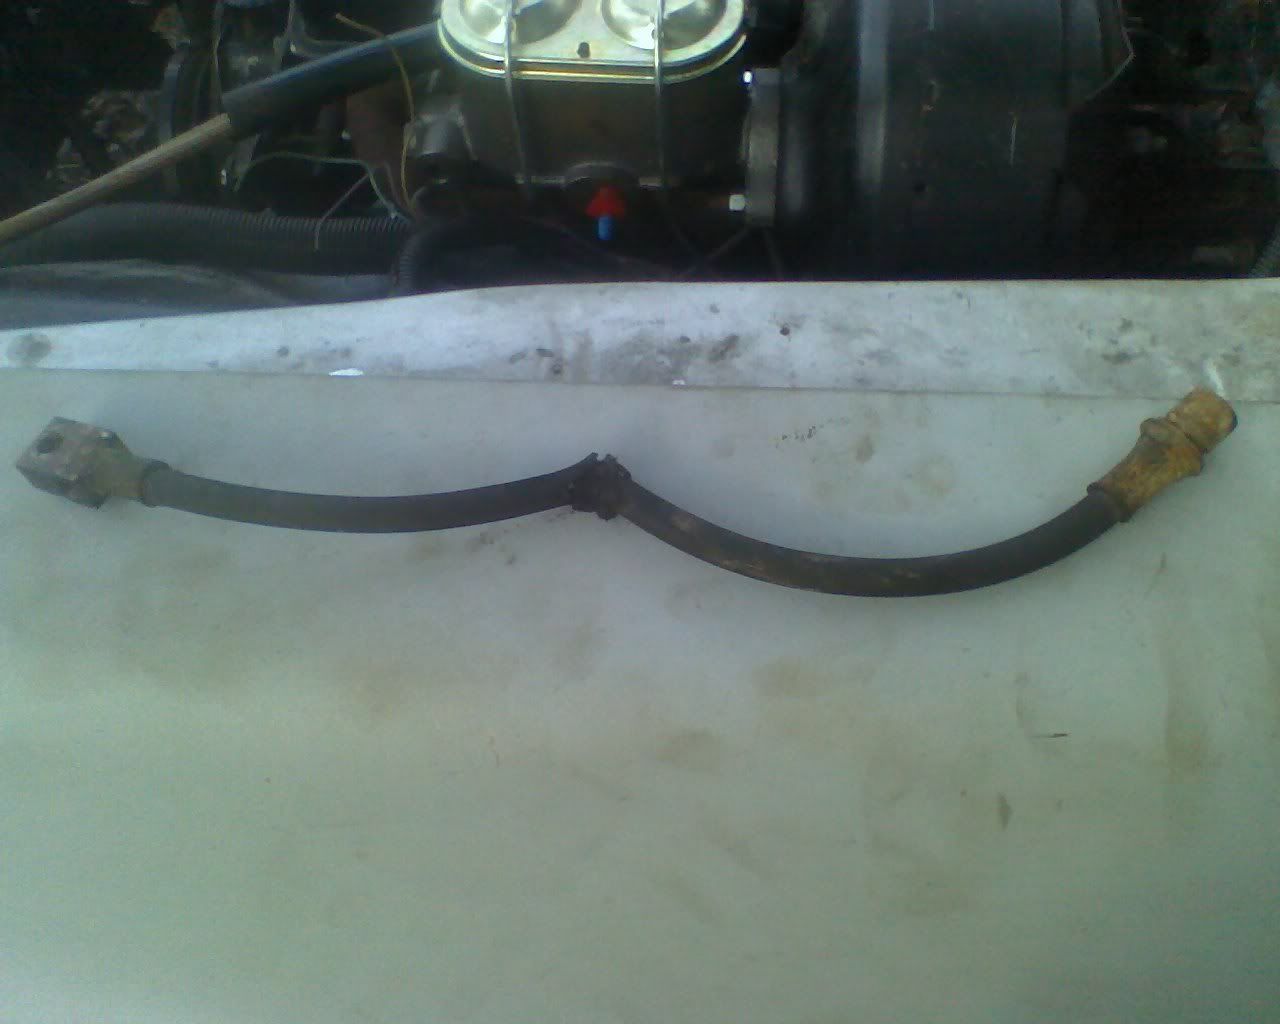
I didnt get a picture of it, but i installed my new rear brake line, here is the old one.
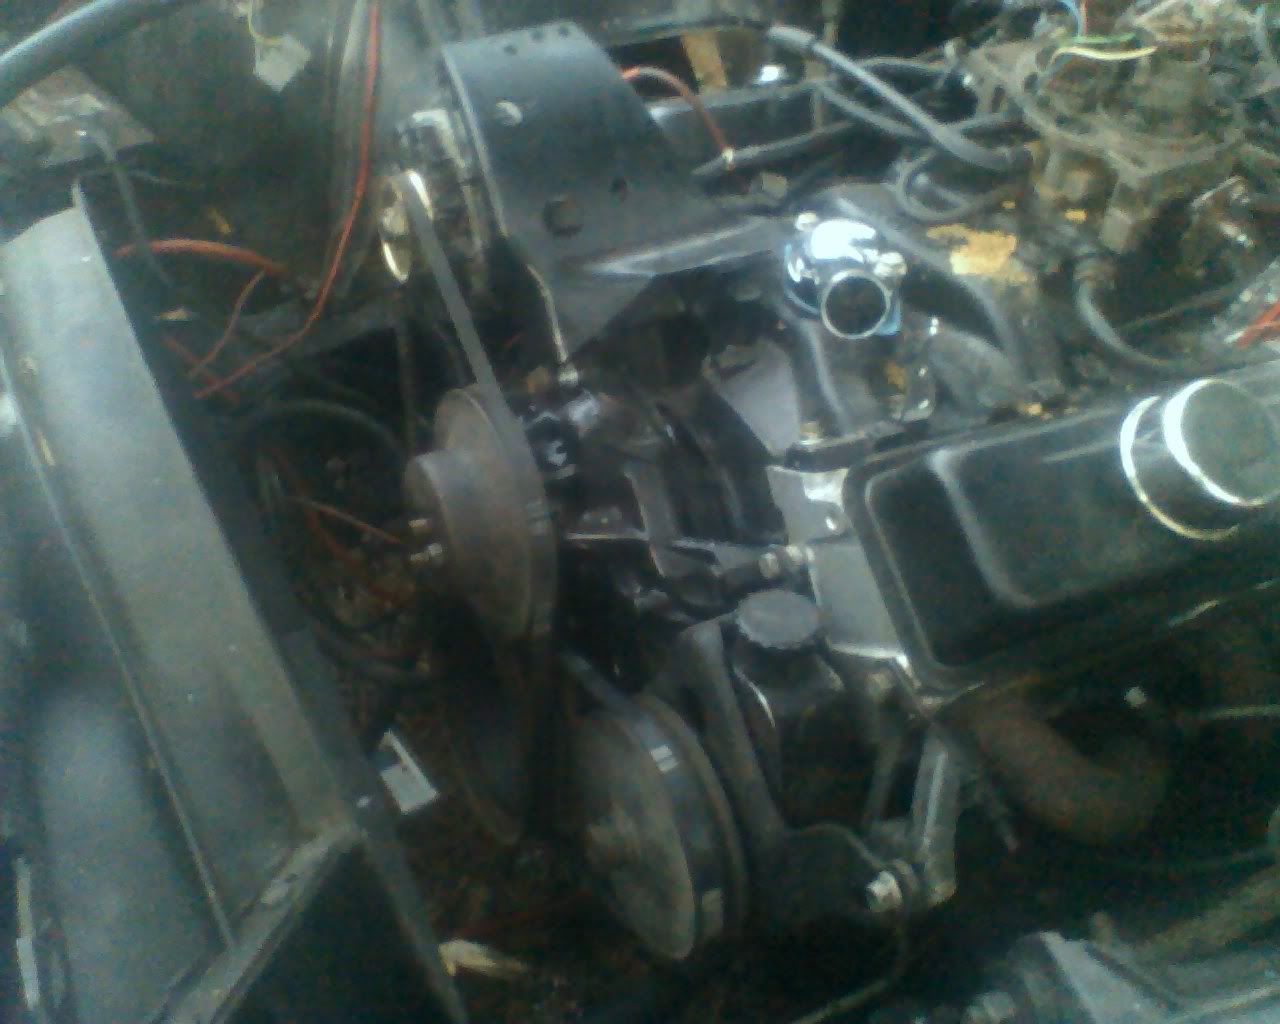
Got a few things for the engine, its looking more complete now, i'm gonna paint the peices to remove some chrome.
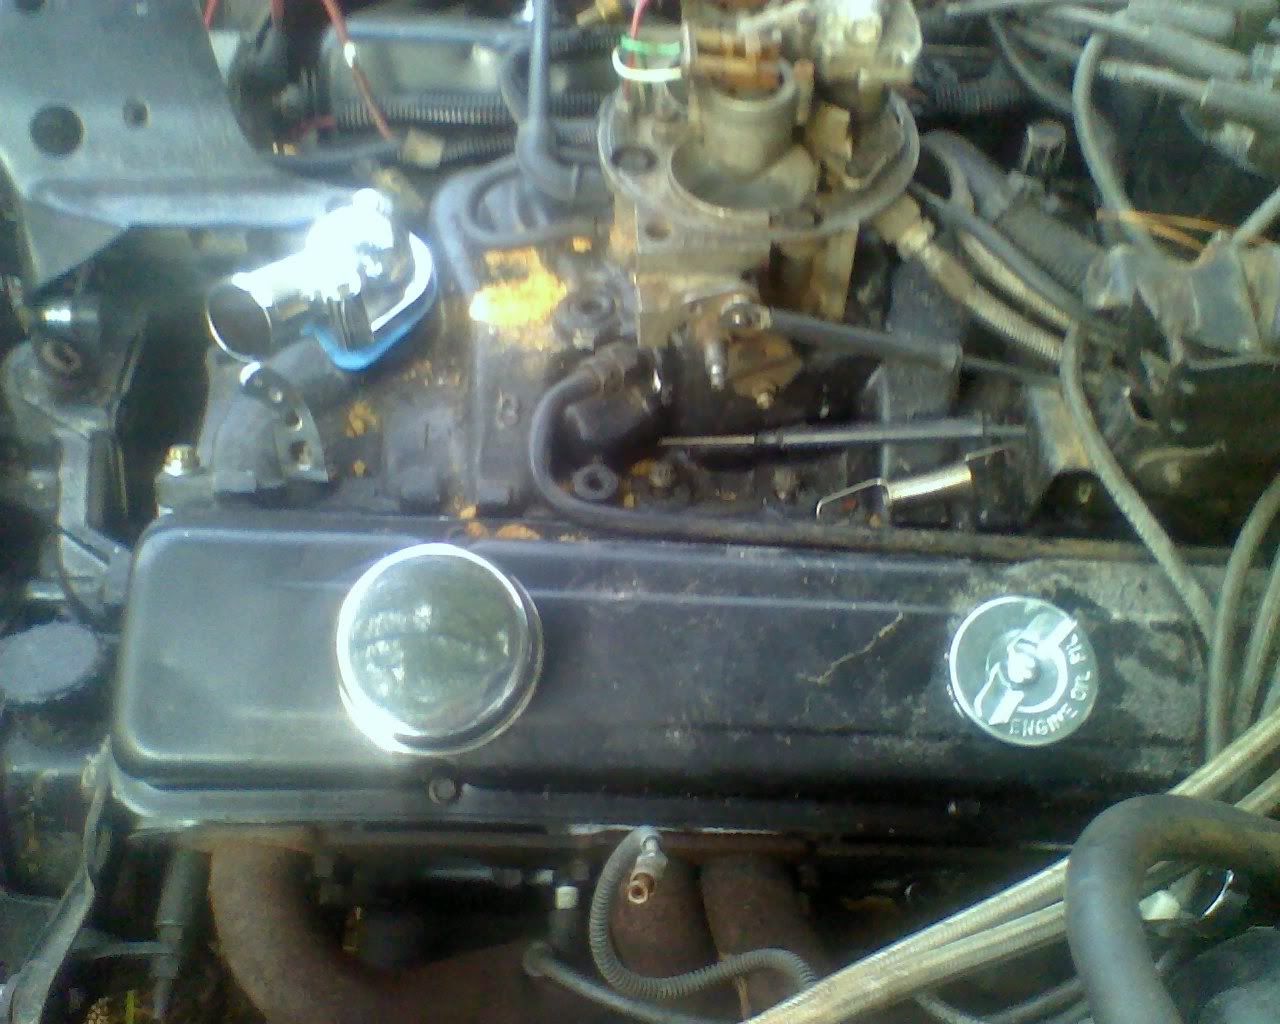
Got the belts installed, i need to get some bolts for the fan to be properly installed.
And even tho my brake mod has been successful so far, im contemplating putting it back factory to help hooking up lines, etc. Dont know yet. All depends if i can find a used assembly for cheap or not.

“It’s not who I am underneath, but what I do that defines me”
|
|
|
|
| Posted 9/14/2009 8:19:36 PM |
|
|

Has NO LIFE!!

Last Login: 12/26/2023 1:14:45 PM
Posts: 5,397,
Visits: 4,909
|
|
| Hey Shaggy loved the tutorial. Its too bad there wasn't an audio with that I'll bet there were a few censored words involved. I try to keep young children out of the garage when I'm working...hehehe Hey a couple things I learned working with this lexan is that you can use some painter's tape on the windshield to create a clean line on that glue.Just tape around the furthest edge and pull it AFTER the glue dries. Also if the wavy glue line bothers you you can tape a line on the outside of the glass and use a flat black paint abound the edge that covers it and gives a clean finish. In the corners you can use a circle from a solid object like a metal can and use a razor to follow the edge and give the paint a nice radius look. I will have to do that on the Rumbler. Anyways I loved the tutorial....Great job.....BWD
|
|
|
|
| Posted 9/21/2009 2:11:15 PM |
|
|
Getting Better at Internets
Last Login: 11/13/2022 6:06:37 AM
Posts: 2,698,
Visits: 8,392
|
|
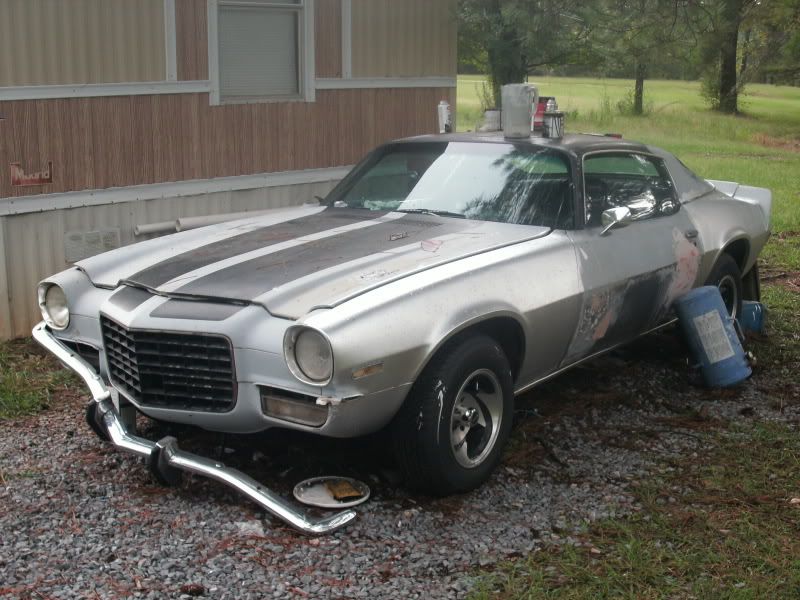
thanks Dave for the kind words! I thought i would share this with you guys, i have about 3 cans of paint for the car lying around and i figured i dont care to let them go to waste, so i'd give it another shot at painting the car.
Now again, this is just a roll on paint job, nothing "show room" just something as far as protection to keep the car from rusting as bad since i am moving to a "rainy" section of the nation.
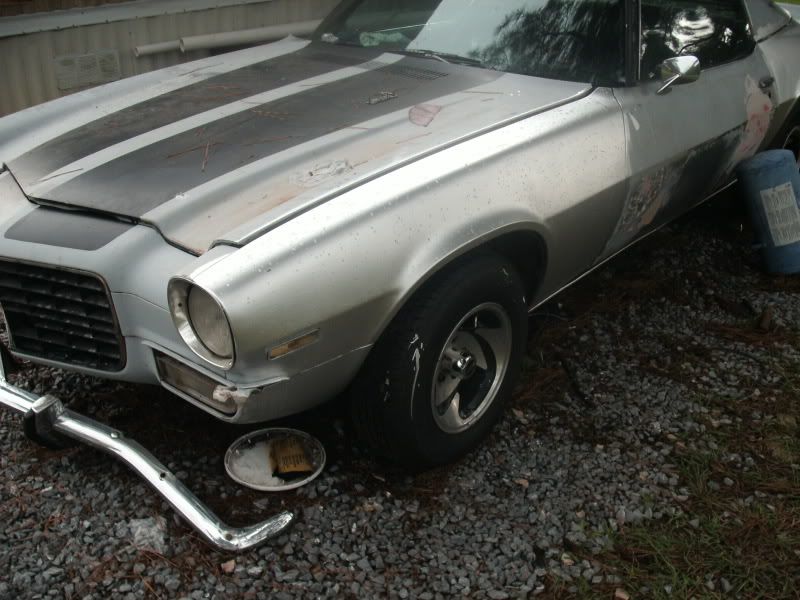
So here are pictures, second attempt. I havent finished working on the door, so i cant paint that just yet. Also these pictures were taken just as it stopped raining.
The paint on the tire was an accident, so....
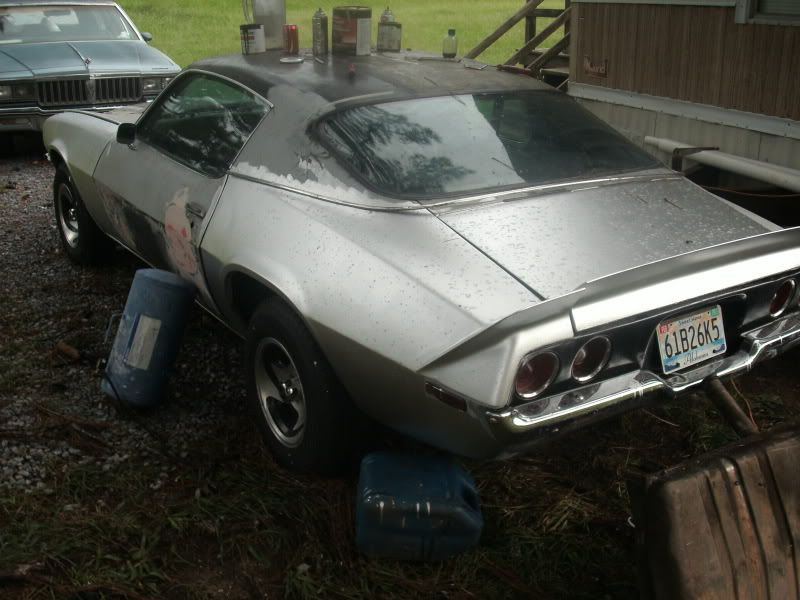
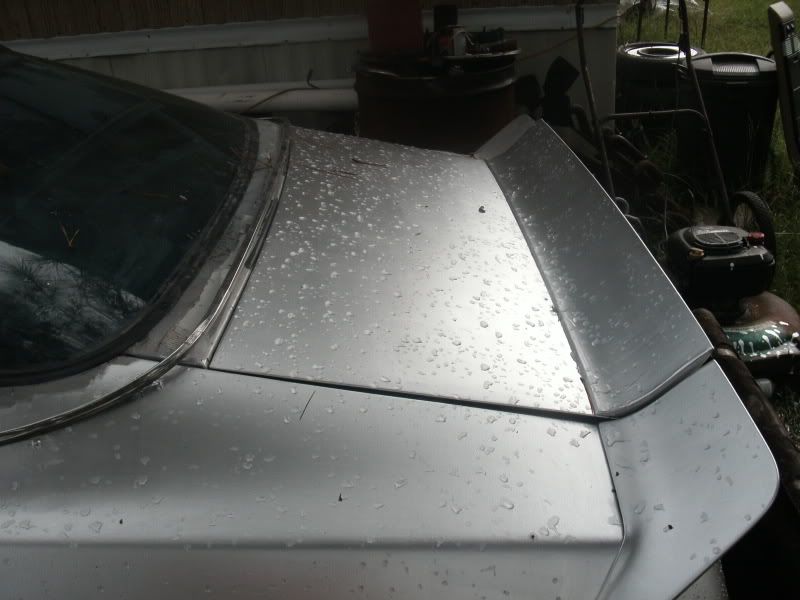
I really liked how the trunk lid turned out
The front fender is doing something weird, i tried giving it a light sand after the 4th coat, let it dry, and went over that sanded area with another coat and its creating some weird cracked effect. Gonna see if i can get that out before i completely give up and redo that area.
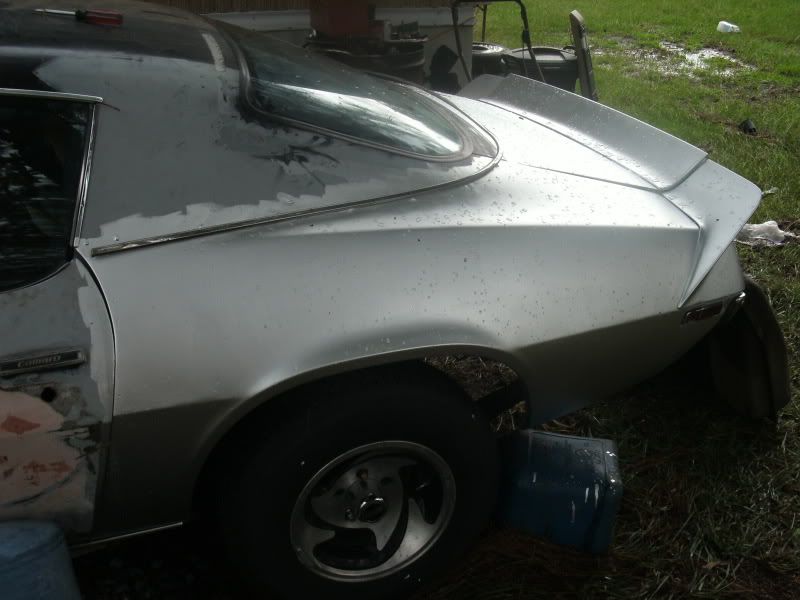
And my favorite so far, the rear quarter panel is coming out nicely, as always  The chrome trim piece is where the vinyl top will end. Not really too worried about how the body will look there, paint-wise. I will lay down a coat or two of enamel to help keep it from rusting though before i put the material back on the top. The chrome trim piece is where the vinyl top will end. Not really too worried about how the body will look there, paint-wise. I will lay down a coat or two of enamel to help keep it from rusting though before i put the material back on the top.
Anyway, i will have more pictures, just as soon as the weather cooperates!!
“It’s not who I am underneath, but what I do that defines me”
|
|
|
|
| Posted 9/21/2009 7:36:15 PM |
|
|
Has NO LIFE!!
Last Login: 12/26/2023 1:14:45 PM
Posts: 5,397,
Visits: 4,909
|
|
| Hey Shaggy that looks real nice.....Roll on paint you say? Pretty cool.... Will it require buffing or wet sanding like a spray on paint job?....BWD
|
|
|
|
| Posted 9/22/2009 8:05:55 AM |
|
|
Getting Better at Internets
Last Login: 11/13/2022 6:06:37 AM
Posts: 2,698,
Visits: 8,392
|
|
| Hey Dave, from what i read, it will require buffing, etc, just like your regular spray on job. Only difference is it takes about 8 coats to equal that of what a spray on paint job can do for your car. Plus by doing it this way, you get much more orange peel than a spray on paint job. But i admit, its better than nothing! I found today that my passenger side floorboard is getting slightly damp. Which means i have a leak somewhere, and im willing to bet the leak is coming from the A/C unit......which cannot be removed now for better sealing. Gonna have to see what i can do about that.
“It’s not who I am underneath, but what I do that defines me”
|
|
|
|
| Posted 9/22/2009 1:20:46 PM |
|
|

Forum Guru

Last Login: 1/3/2016 3:34:07 PM
Posts: 863,
Visits: 1,397
|
|
Wow dude. I've said it before I'll say it again: LOVE THAT CAR.
by the way....nice pics! good rez.
oh and the glue packaging looked like cookie dough. I almost wanted to bite the screen.
I forget (and didn't look back) what engine is that?
I would love to hear that thing when it's ready to roar.
...does it come in black?
 
|
|
|
|
| Posted 9/22/2009 1:35:17 PM |
|
|
Getting Better at Internets
Last Login: 11/13/2022 6:06:37 AM
Posts: 2,698,
Visits: 8,392
|
|
| Hey Conrad, thanks very much for the kind words. The engine is a 350, stock 4 bolt main with 76cc chambered 305 heads. Flowtech headers, aluminum intake, and high volume oil pump. I know that sounds all technical, but its really not much over stock. I hope to be getting a radiator for it REAL soon so even I can hear it run. Maybe within the next two-three weeks i can get that accomplished. This weekend i will either be getting the sending unit for the gas tank, which will finish up the fuel system, OR a factory gauge set up, with tachometer and 150mph speedo. it all depends on which is still on ebay come friday. wish me luck guys!
“It’s not who I am underneath, but what I do that defines me”
|
|
|
|